


You'll have your faux-wood blinds installed in no time with this handy guide.
When your faux-wood blinds arrive you will need a handful of common tools to put them up in a matter of minutes:
You will need:

A drill with correct bit

A crossheaded screwdriver

A metal measuring tape

Pencil
You should have:
x2 box brackets
x2 safety cleats

screws & raw plugs as required
centre support bracket as required (quantity to suit length of blind)

valance clips as required
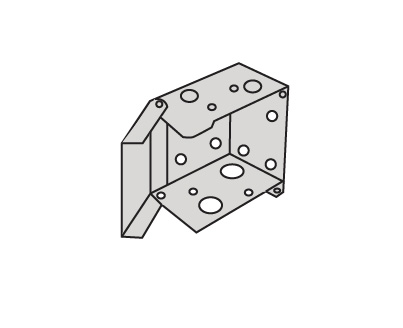
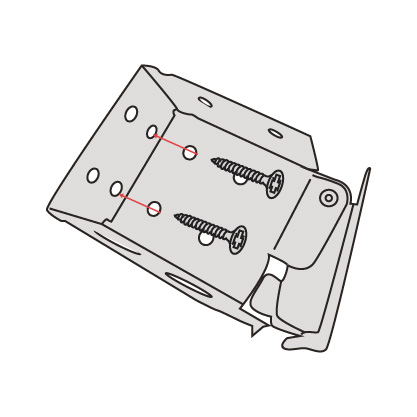
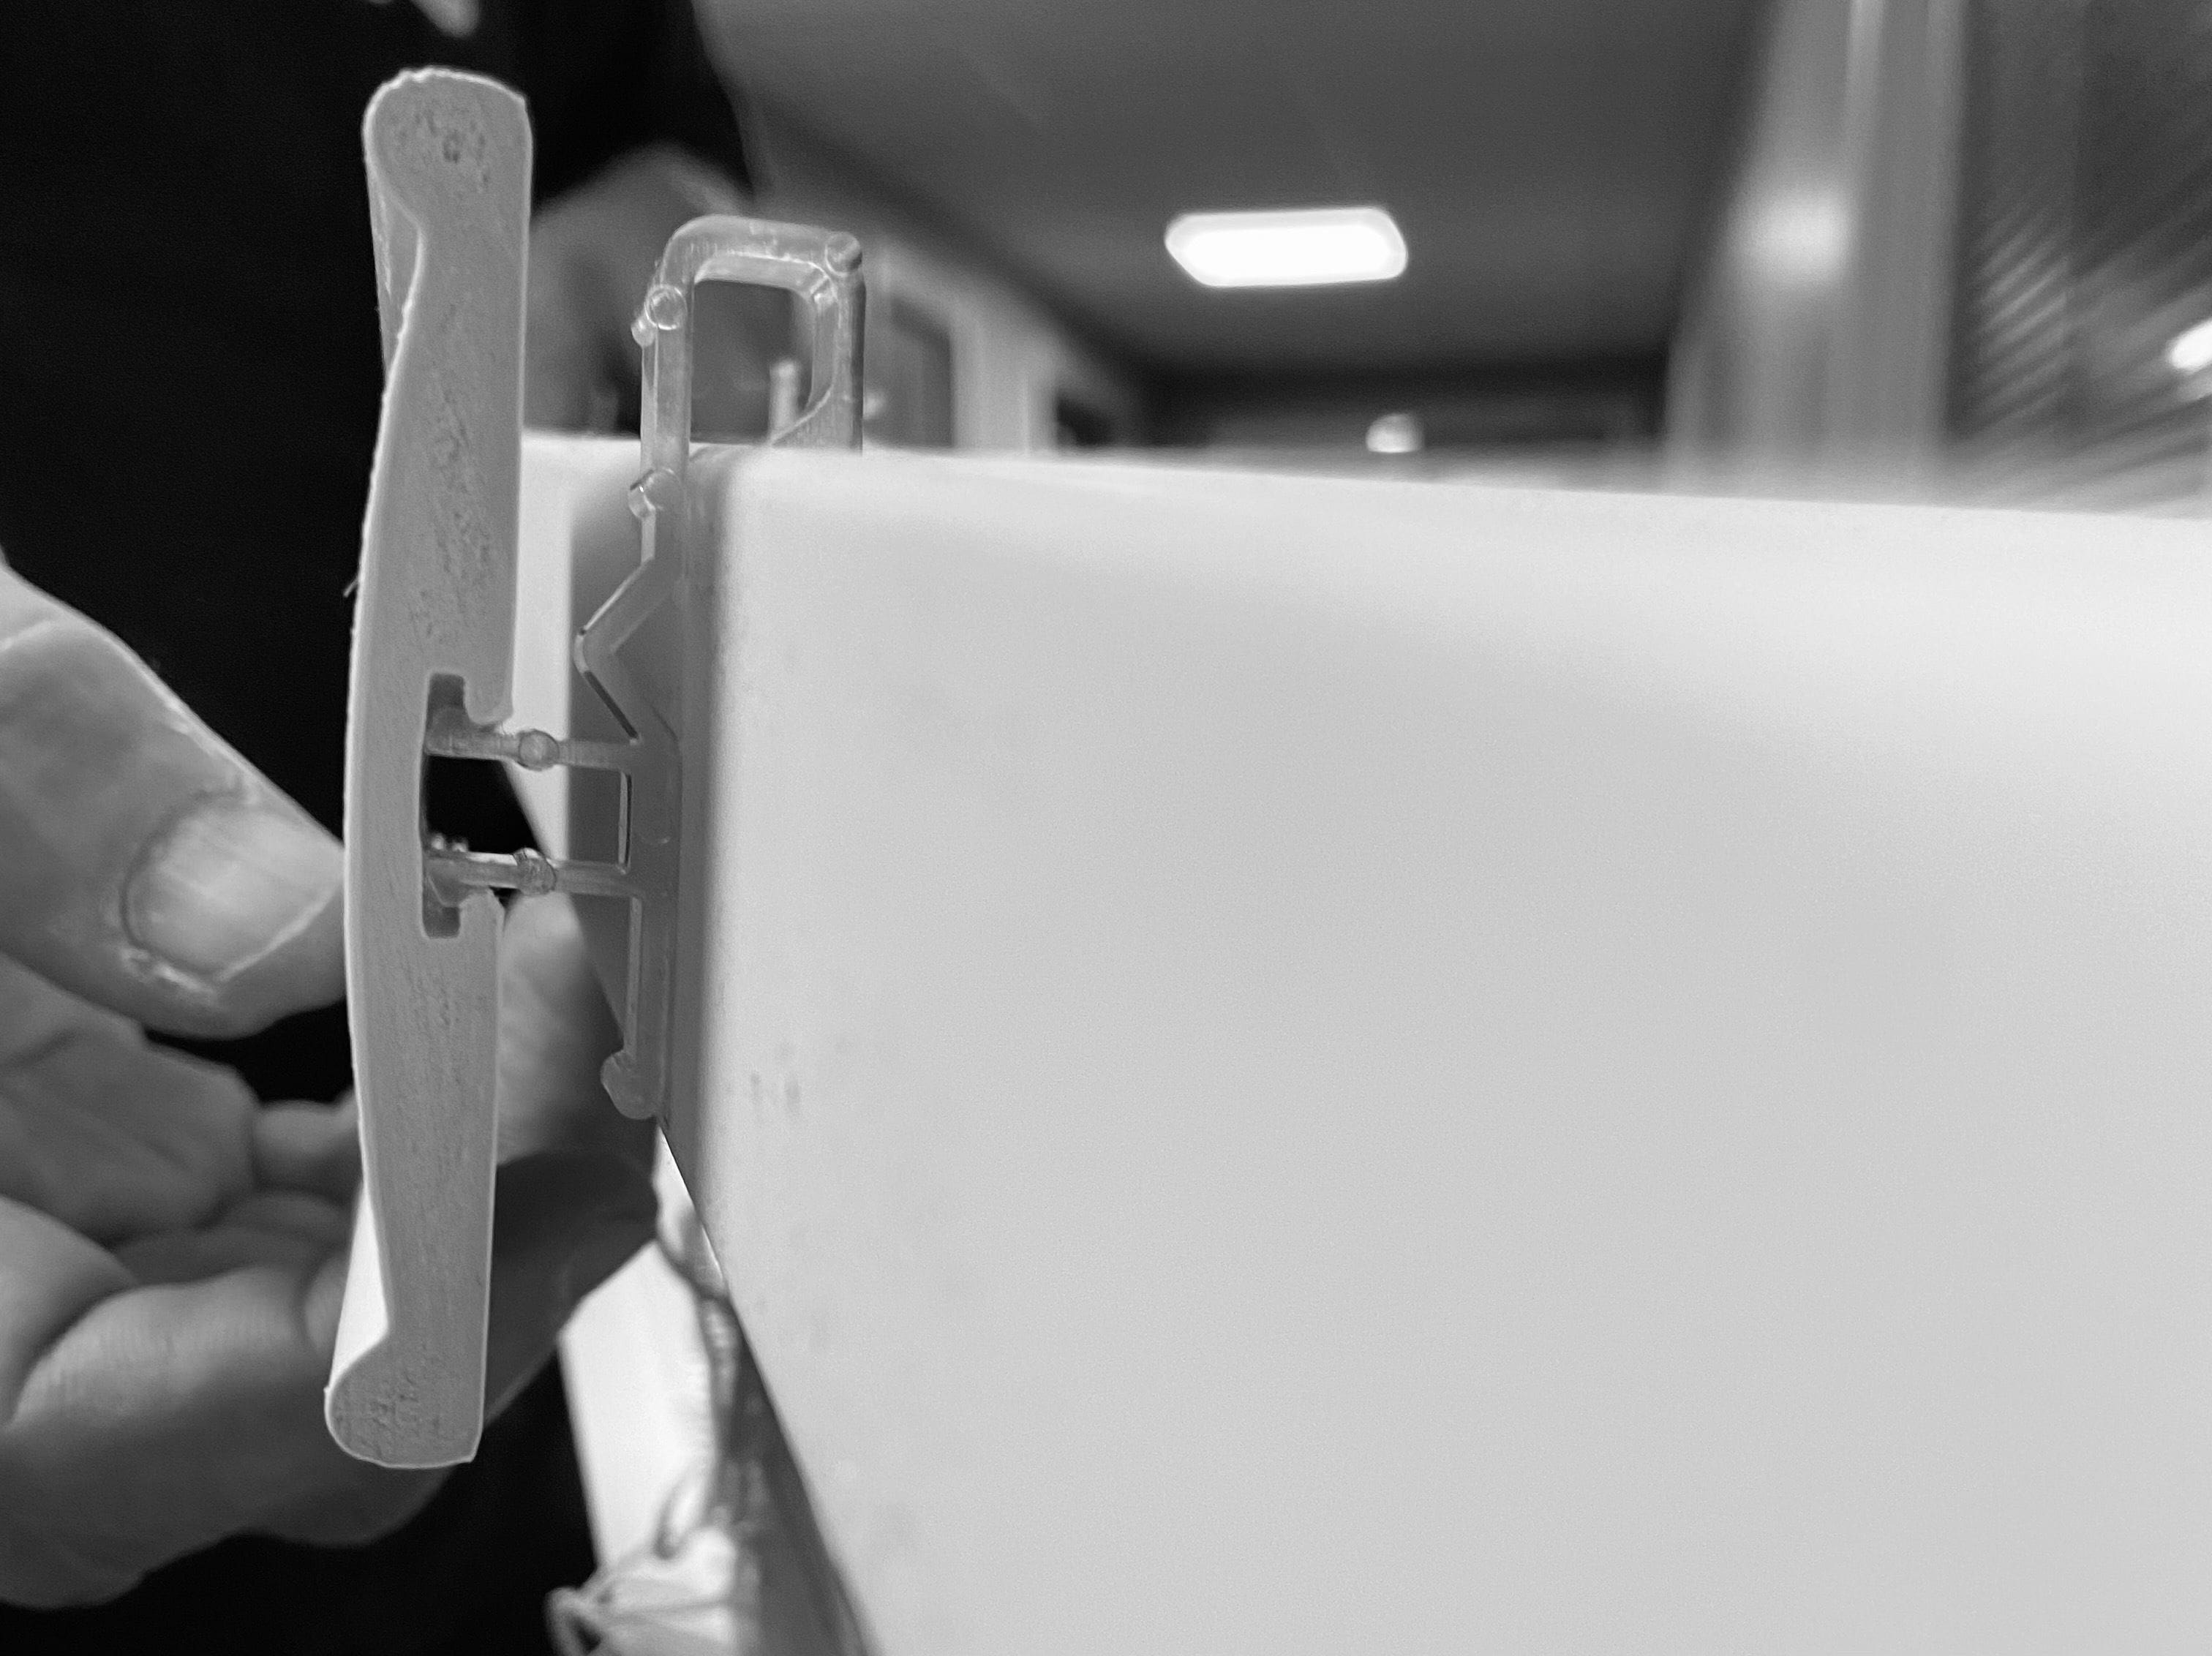
- Our box brackets can be face, side or top fixed, depending on your requirements. (They are marked LH/RH for convenience).
- Ensure the brackets are positioned a suitable distance away from any window handles or obstructions to allow the blind to operate smoothly.
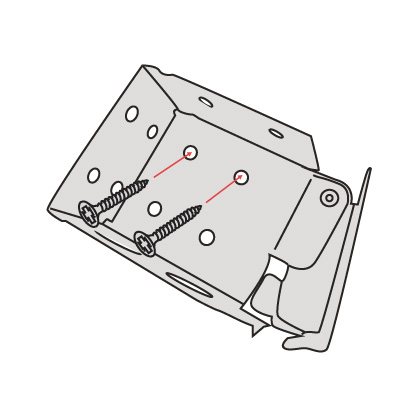
- Hold each bracket in place and mark where the screws will go, using the relevant holes in the bracket as a guide.
- If you are fitting to a wall or lintel, use a drill with the suitable size and type of bit to make your holes and push in the wall plugs.
- If you're fitting into a wooden frame, screw your brackets into position. You may want to make pilot holes to allow easier fixing of the screws.
- Fix each box bracket into place. If centre supports are supplied, (dependant on blind width), space these equally along the width of the blind, you may want to use the blind headrail as a template to help with this. Once positioned, mark, drill, plug and secure the central supports.
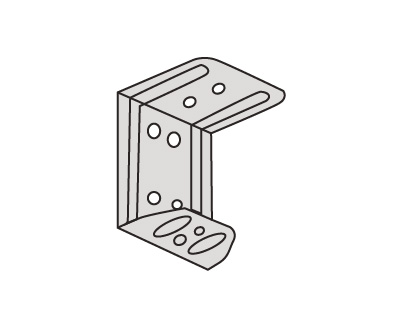
Top fix

Side fix
Face fix
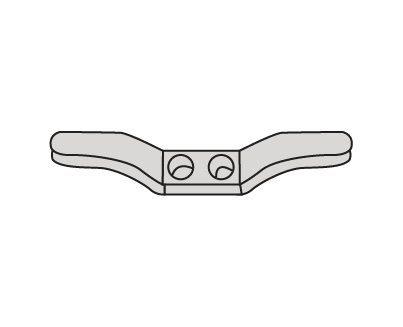
Centre support - top fix
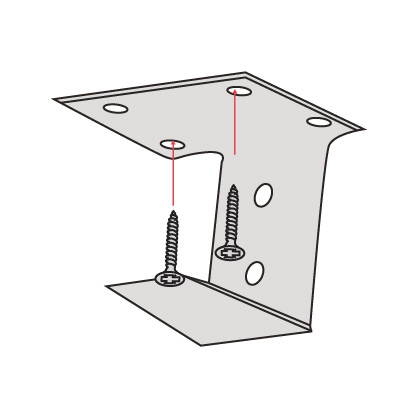
Centre support - face fix

Image 1
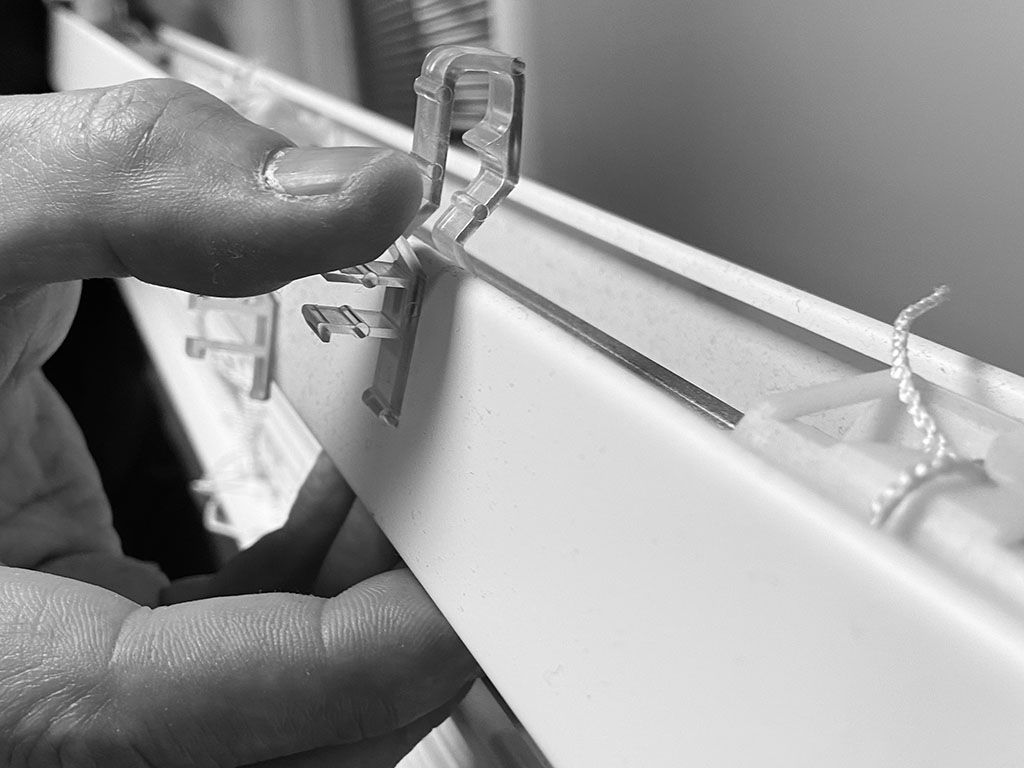
Image 2
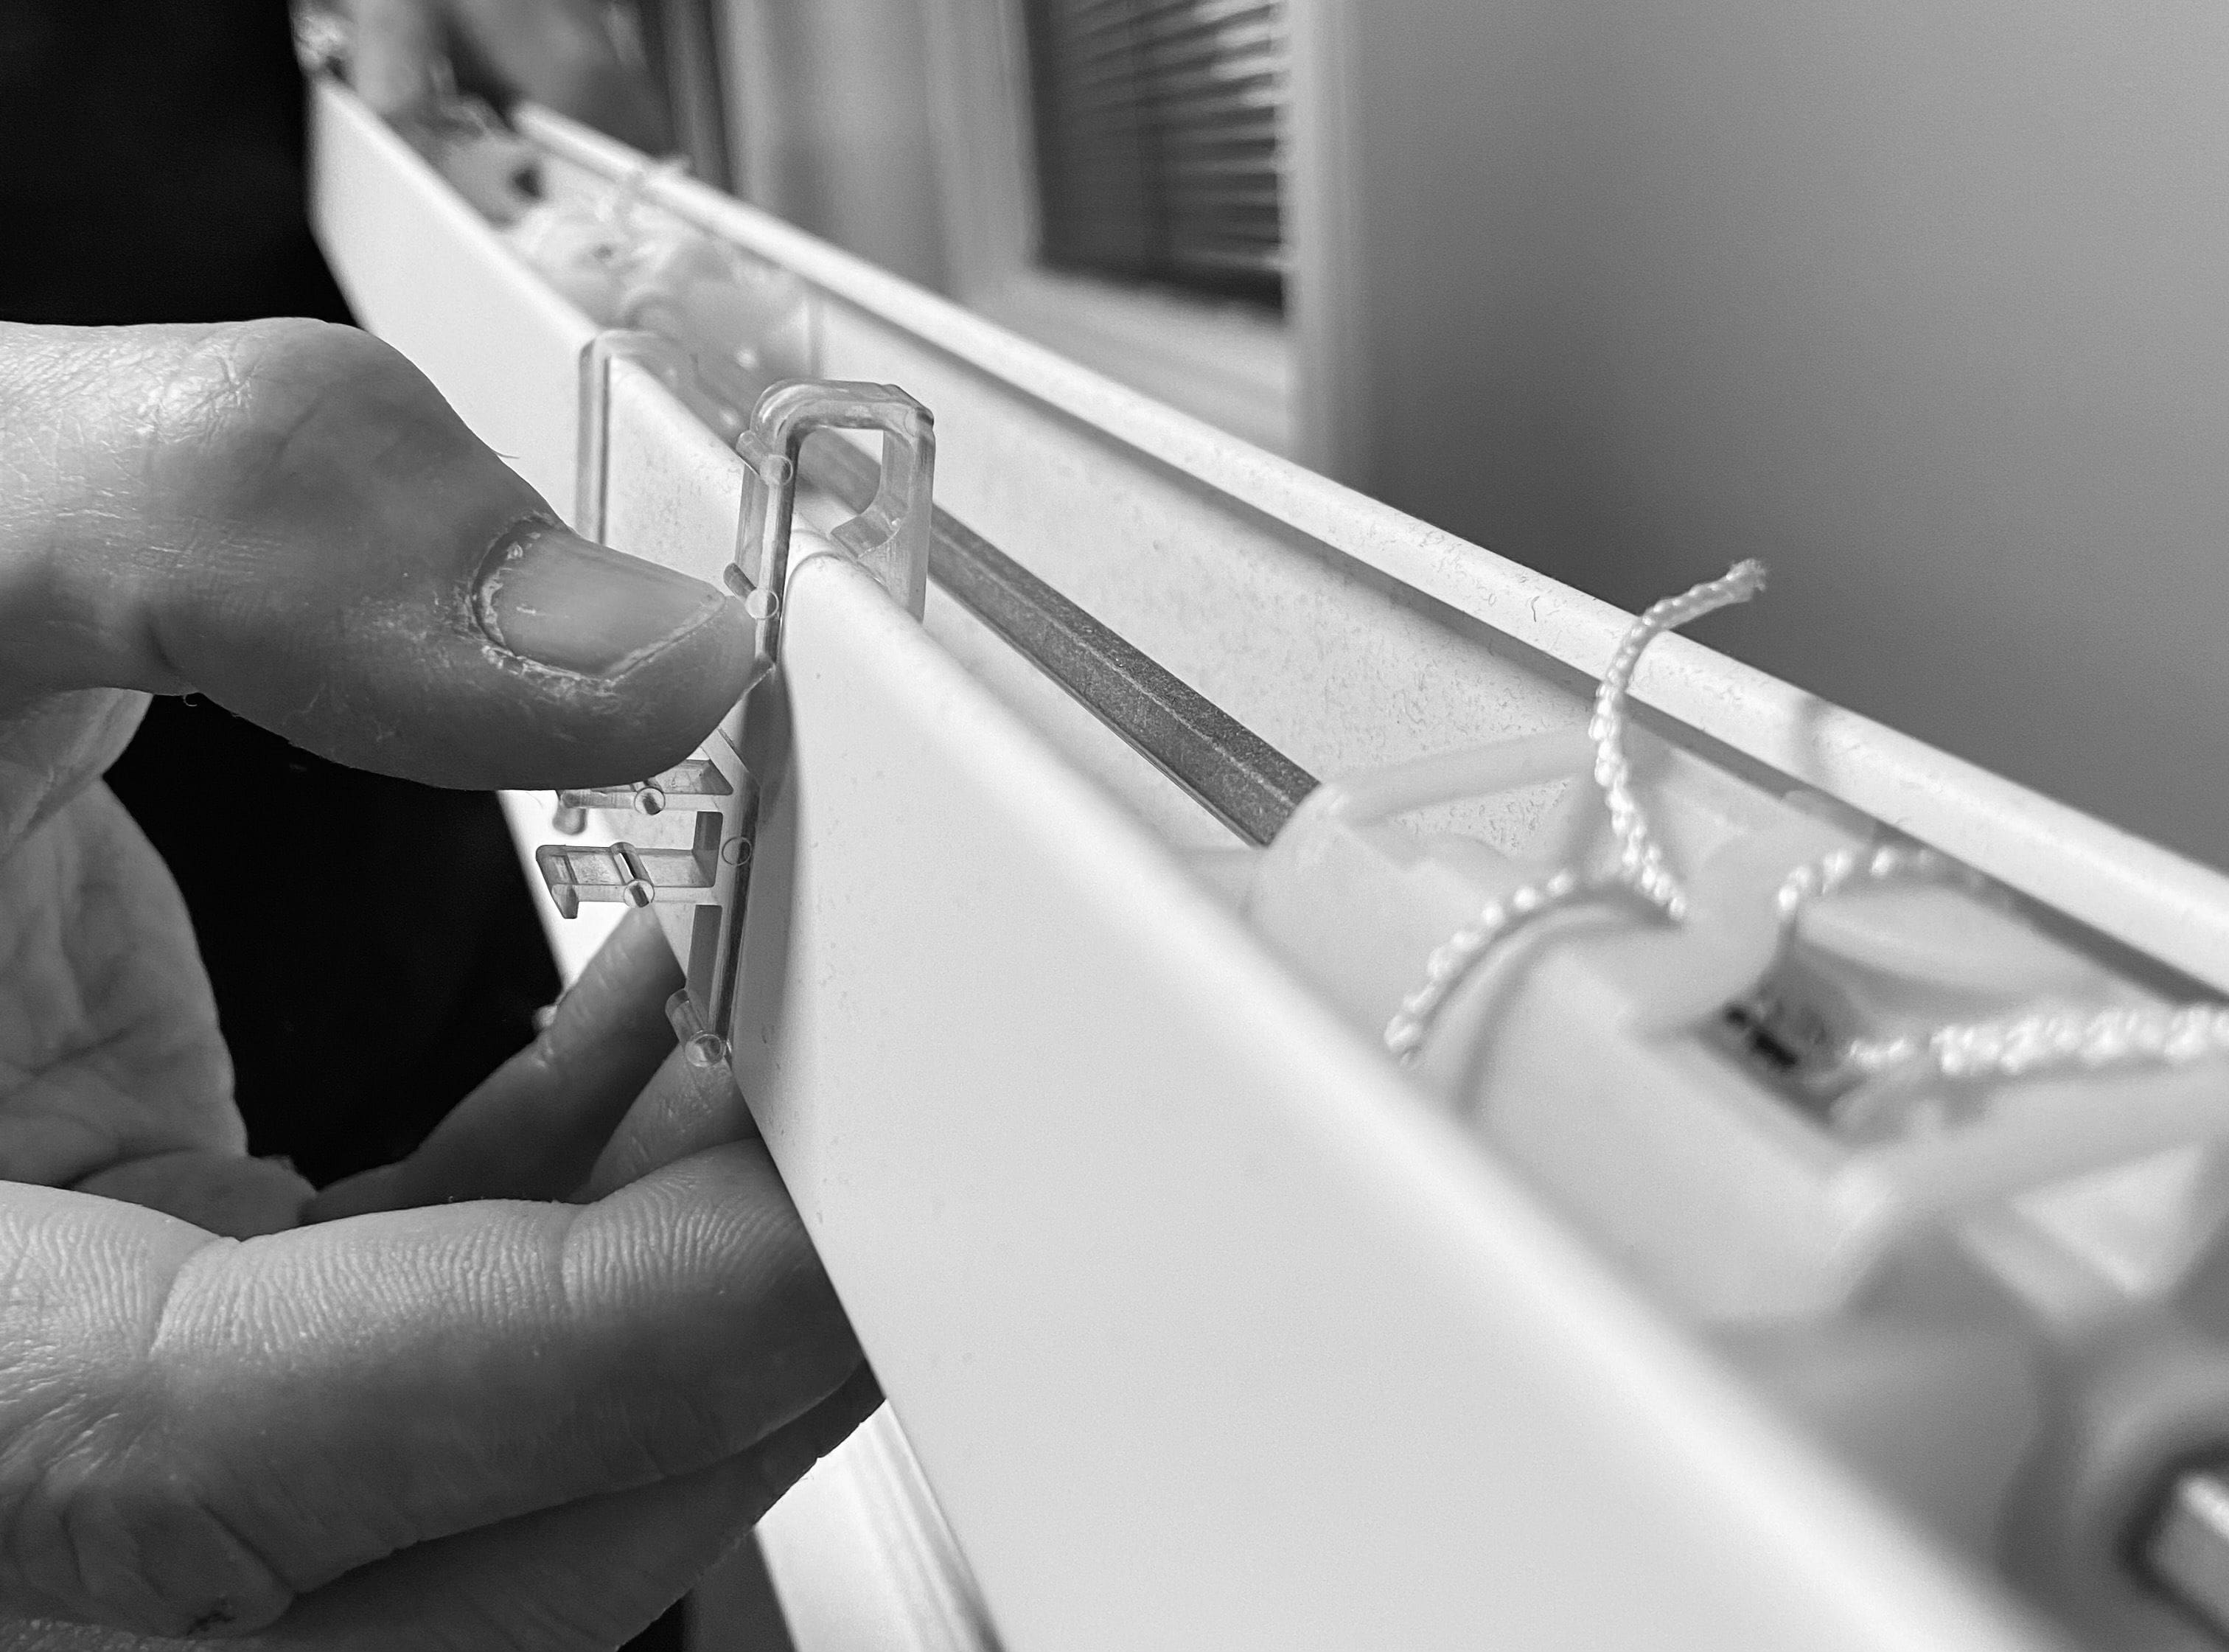
Image 3
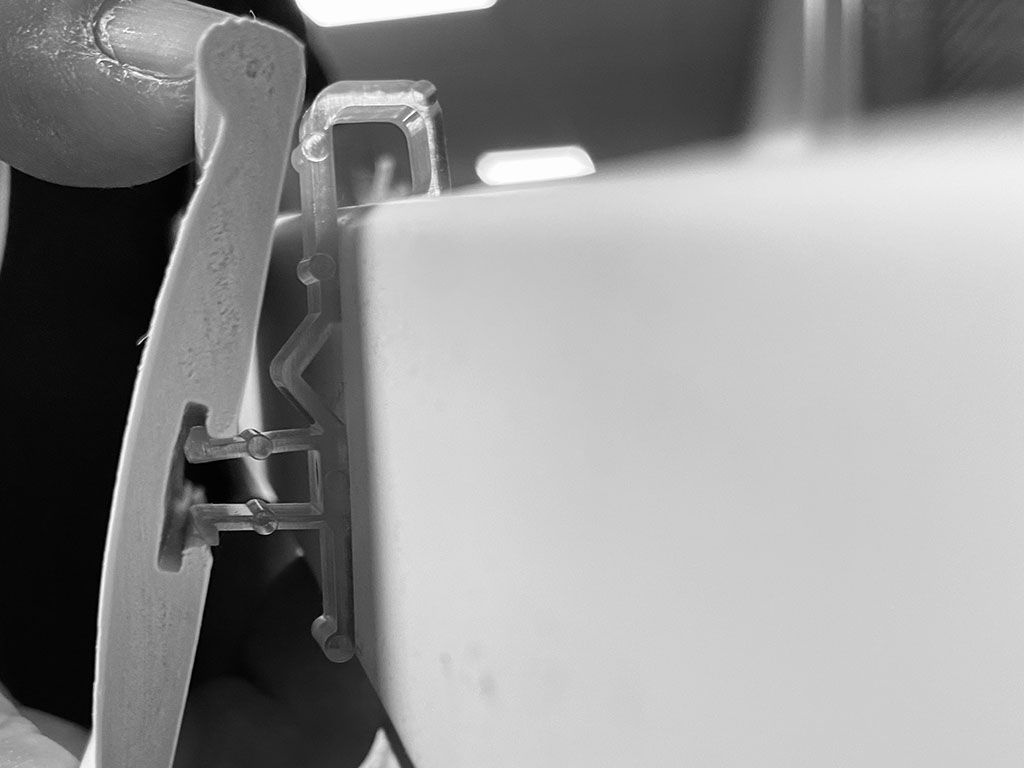
Image 4
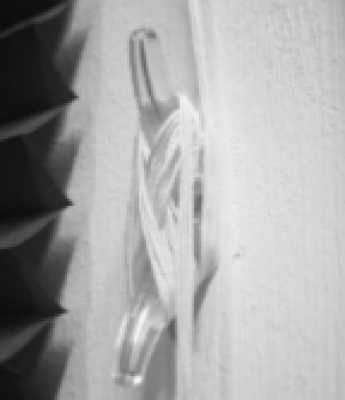
- Blinds that require a safety cleat must not be installed less than 1.5m from the floor. Safety cleats are designed to keep cords taut and out of reach of children – always wrap the cord around the cleat.
- Fix the safety cleat to the wall with 2 screws in a position that’s out of reach of children. Install it as close to the head rail as possible, ensuring that it is no closer to the floor than 1.5m.
- If more than one cleat is required for the complete amount of cord to be wrapped around, ensure that they are positioned no further apart than 20cm and both are no closer to the floor than 1.5m.
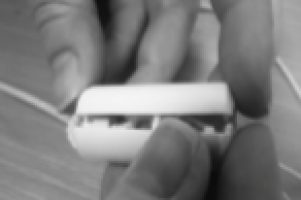
- Please note - the consolidator is designed to come apart to remove a hazardous loop. To reconnect the consolidator, check that it is not damaged, then re-insert the free cords as described below. If any slack cording appears above the consolidator, lower the blind so that it is straight and raise it again.
- Gather the loose cords together and align the knots. Insert the knotted ends into the groove at the top of the consolidator, ensure that the knots are secured below the central panel.
- Secure the two halves together.
Image 5

Image 6

Image 7
Shop our Favourite Faux Wood Blinds

Snow Wooden Blind

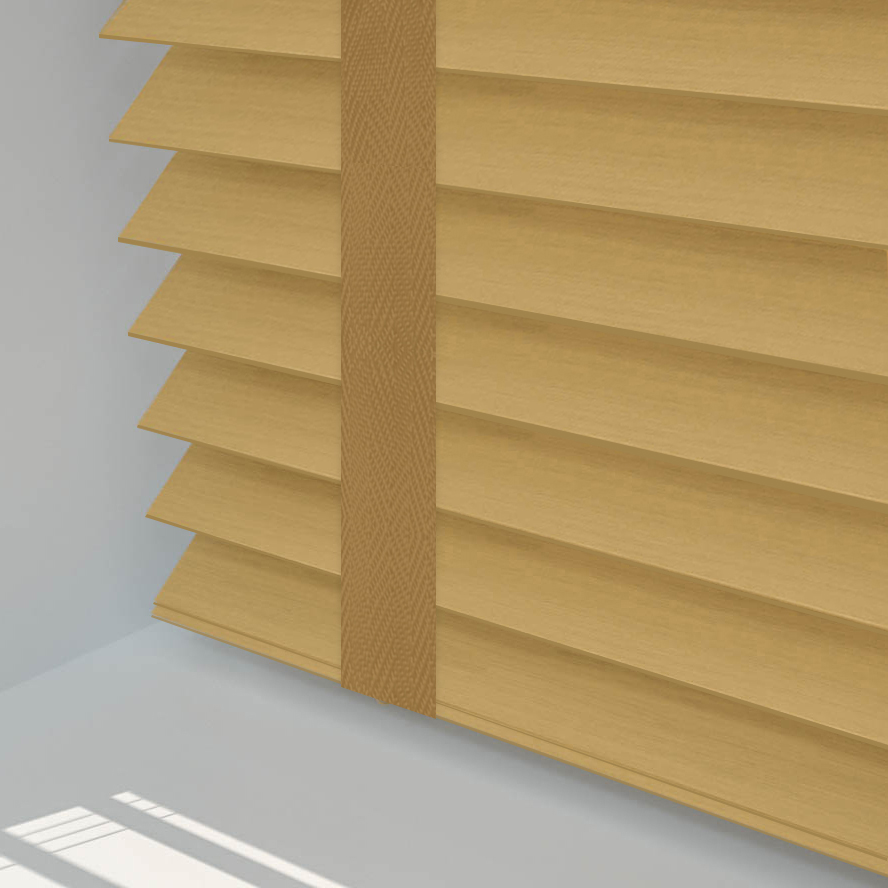
Caramel with Tapes wooden Blind

Grey Wooden Blind
Pine with Tapes Wooden Blind
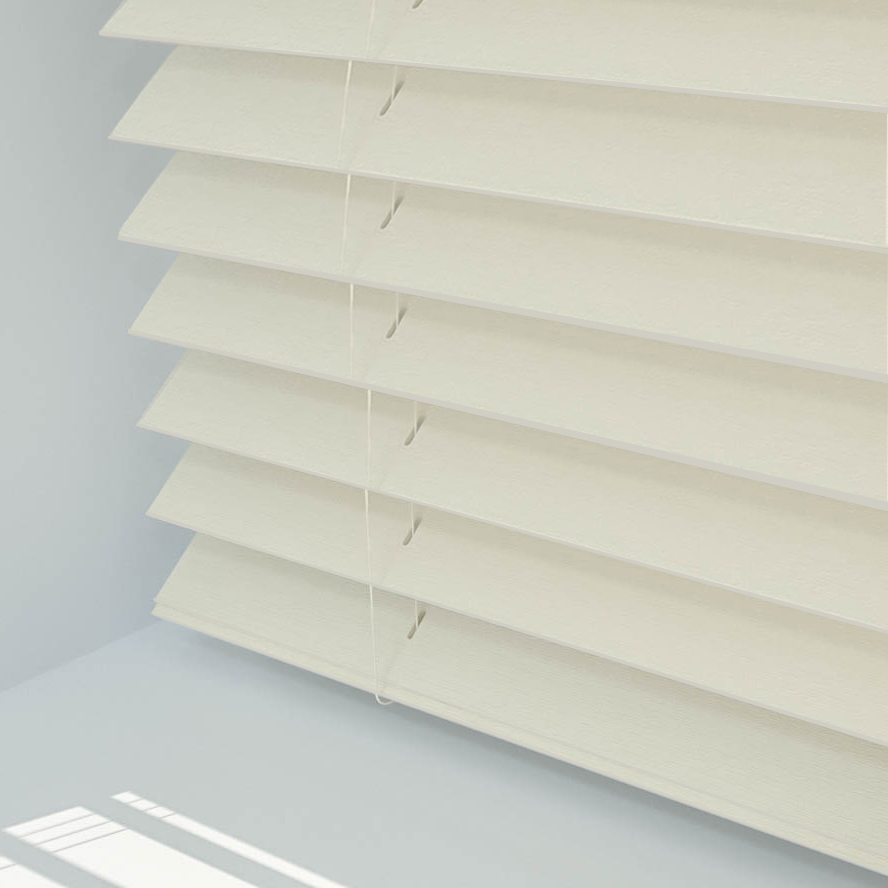
Vanilla Wooden Blind
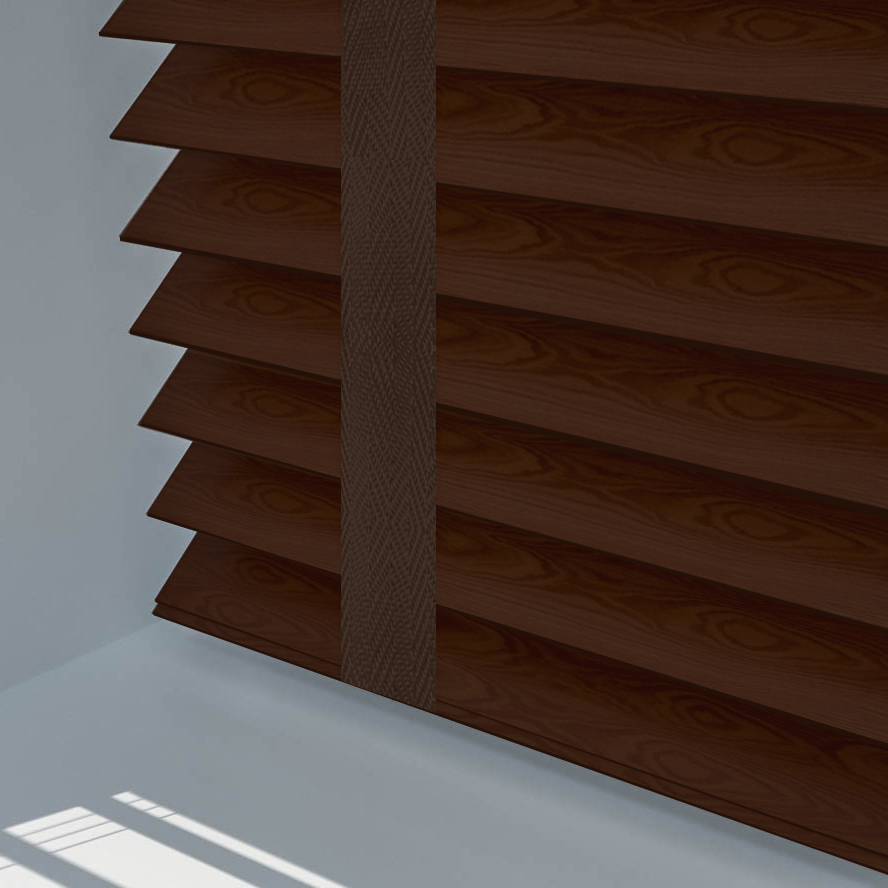
Chestnut with Tapes Wooden Blind