


You'll have your traditional wood blinds installed in no time with this handy guide.
When your traditional wood blinds arrive you will need a handful of common tools to put them up in a matter of minutes:
You will need:

Drill with correct bit

Crossheaded screwdriver

Metal tape measure

Pencil
Drill with correct bit
Crossheaded screwdriver

Metal tape measure

Pencil
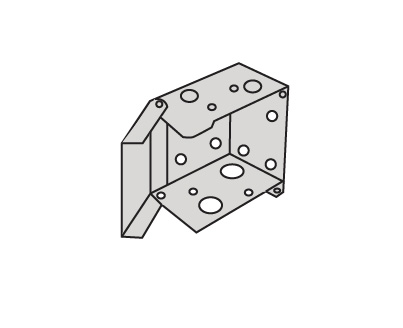
Top fix

Side fix
Face fix
Centre support - Top fix
Centre support - Face fix

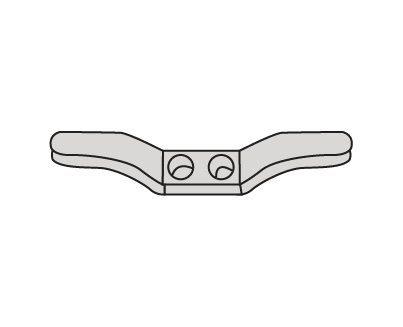
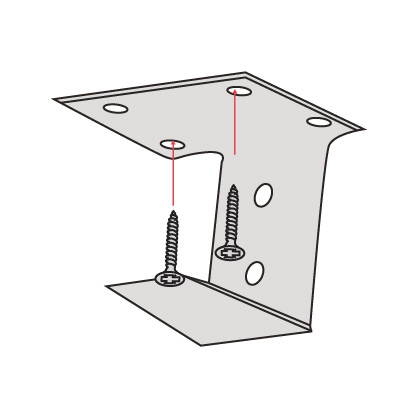
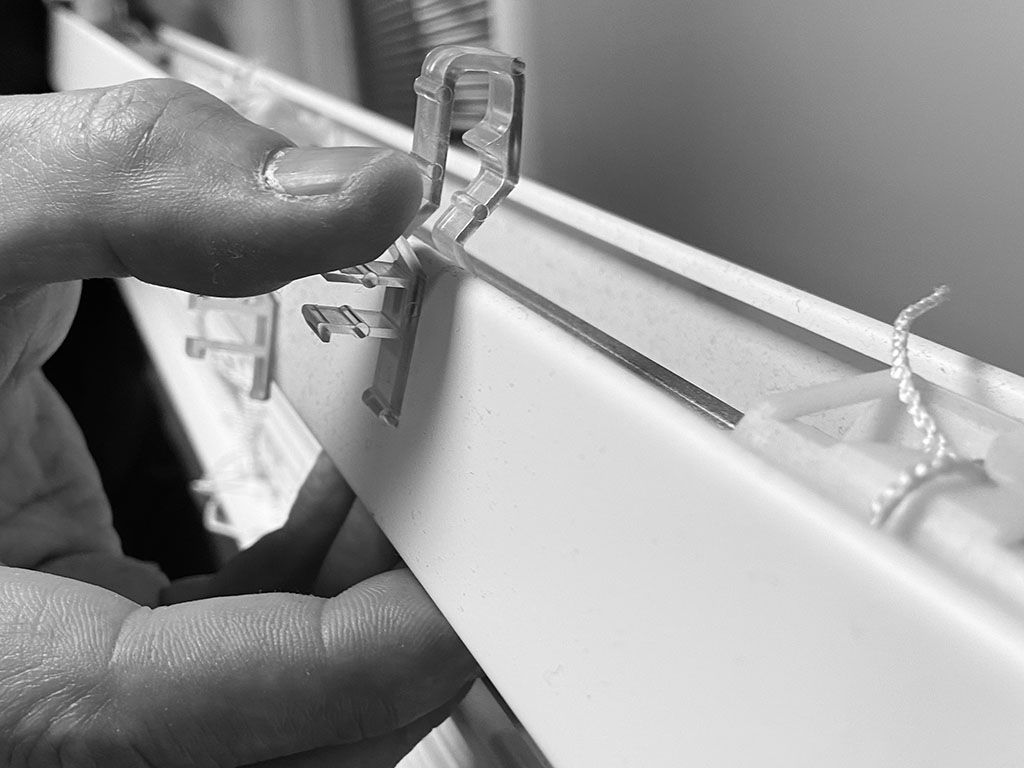
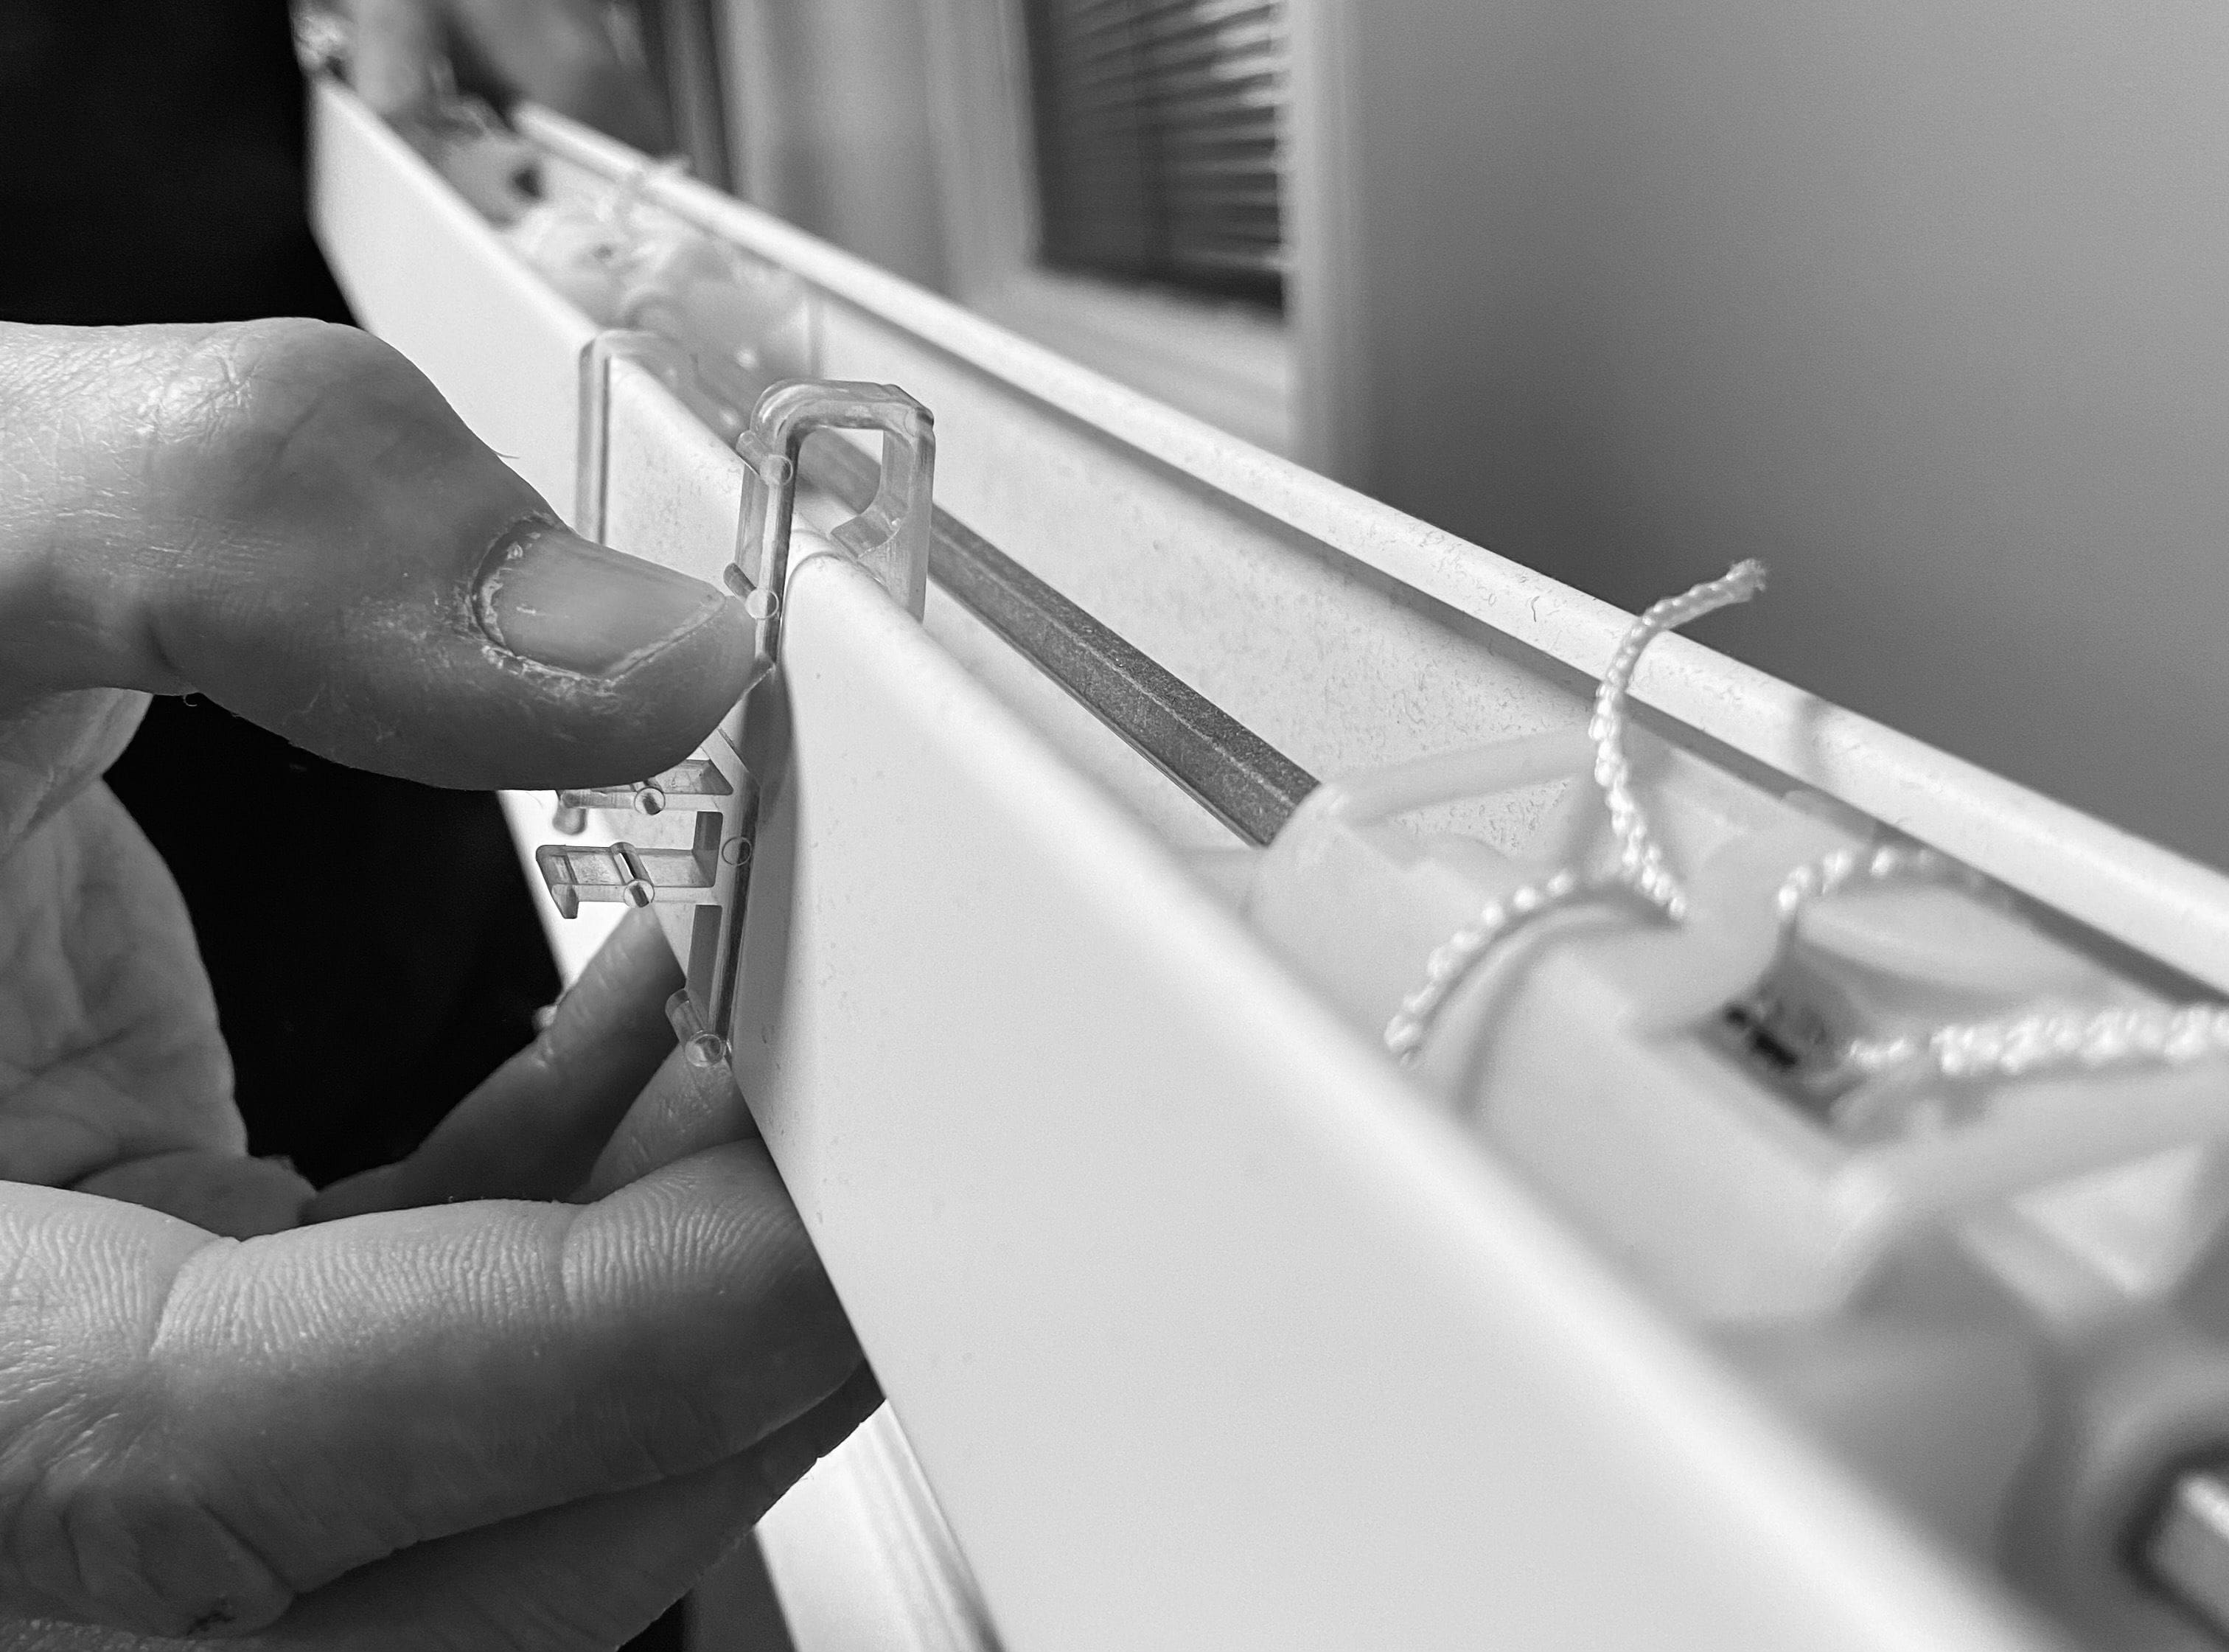
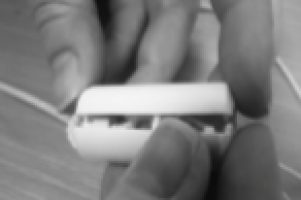
Peel the top layer of the double sided tape off the valance clip.
Stick the back of the valance clip to the valance leaving 5cm clear of the control mechanism on the headrail.
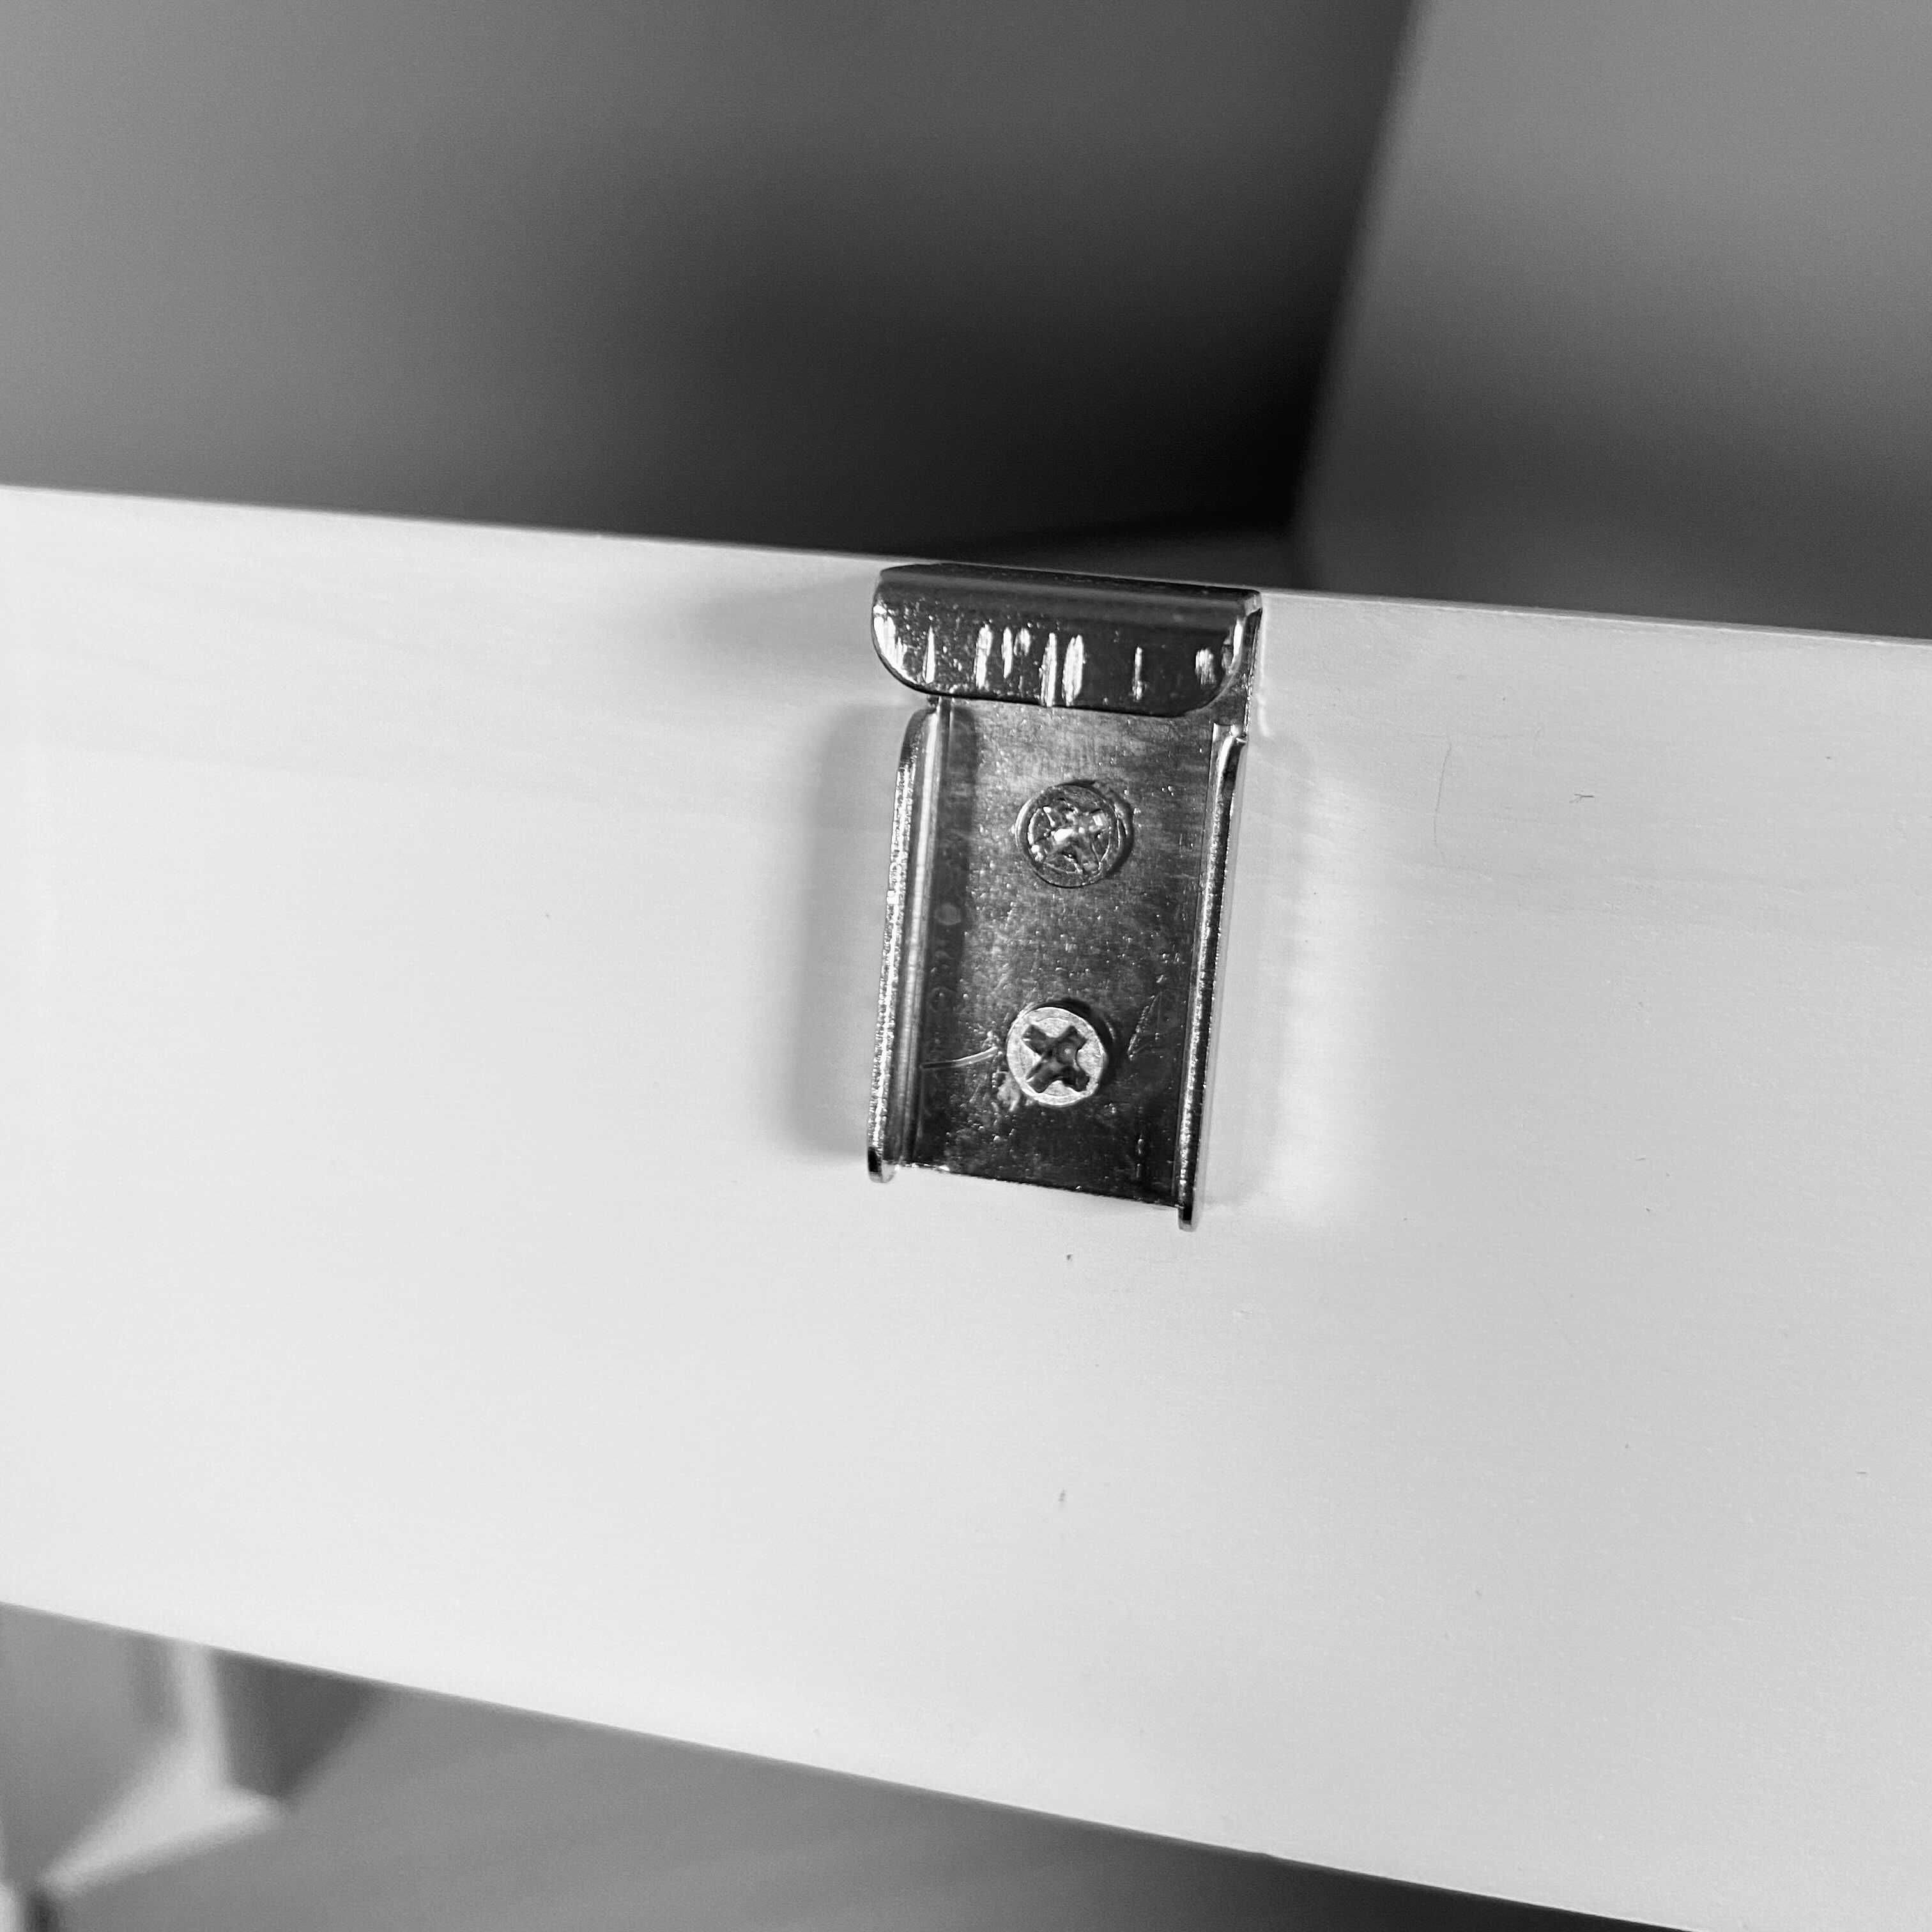
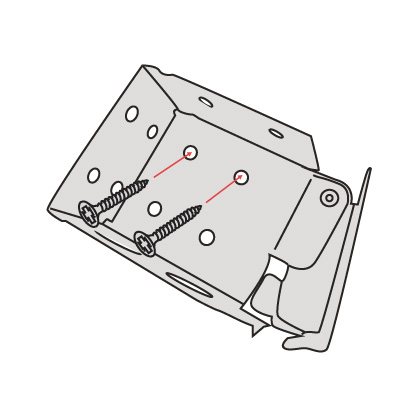
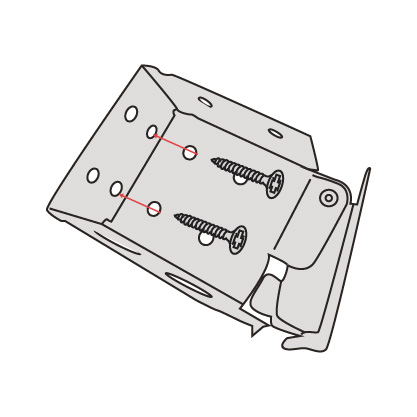
Secure the valance clip with the appropriate screws included in your pack.
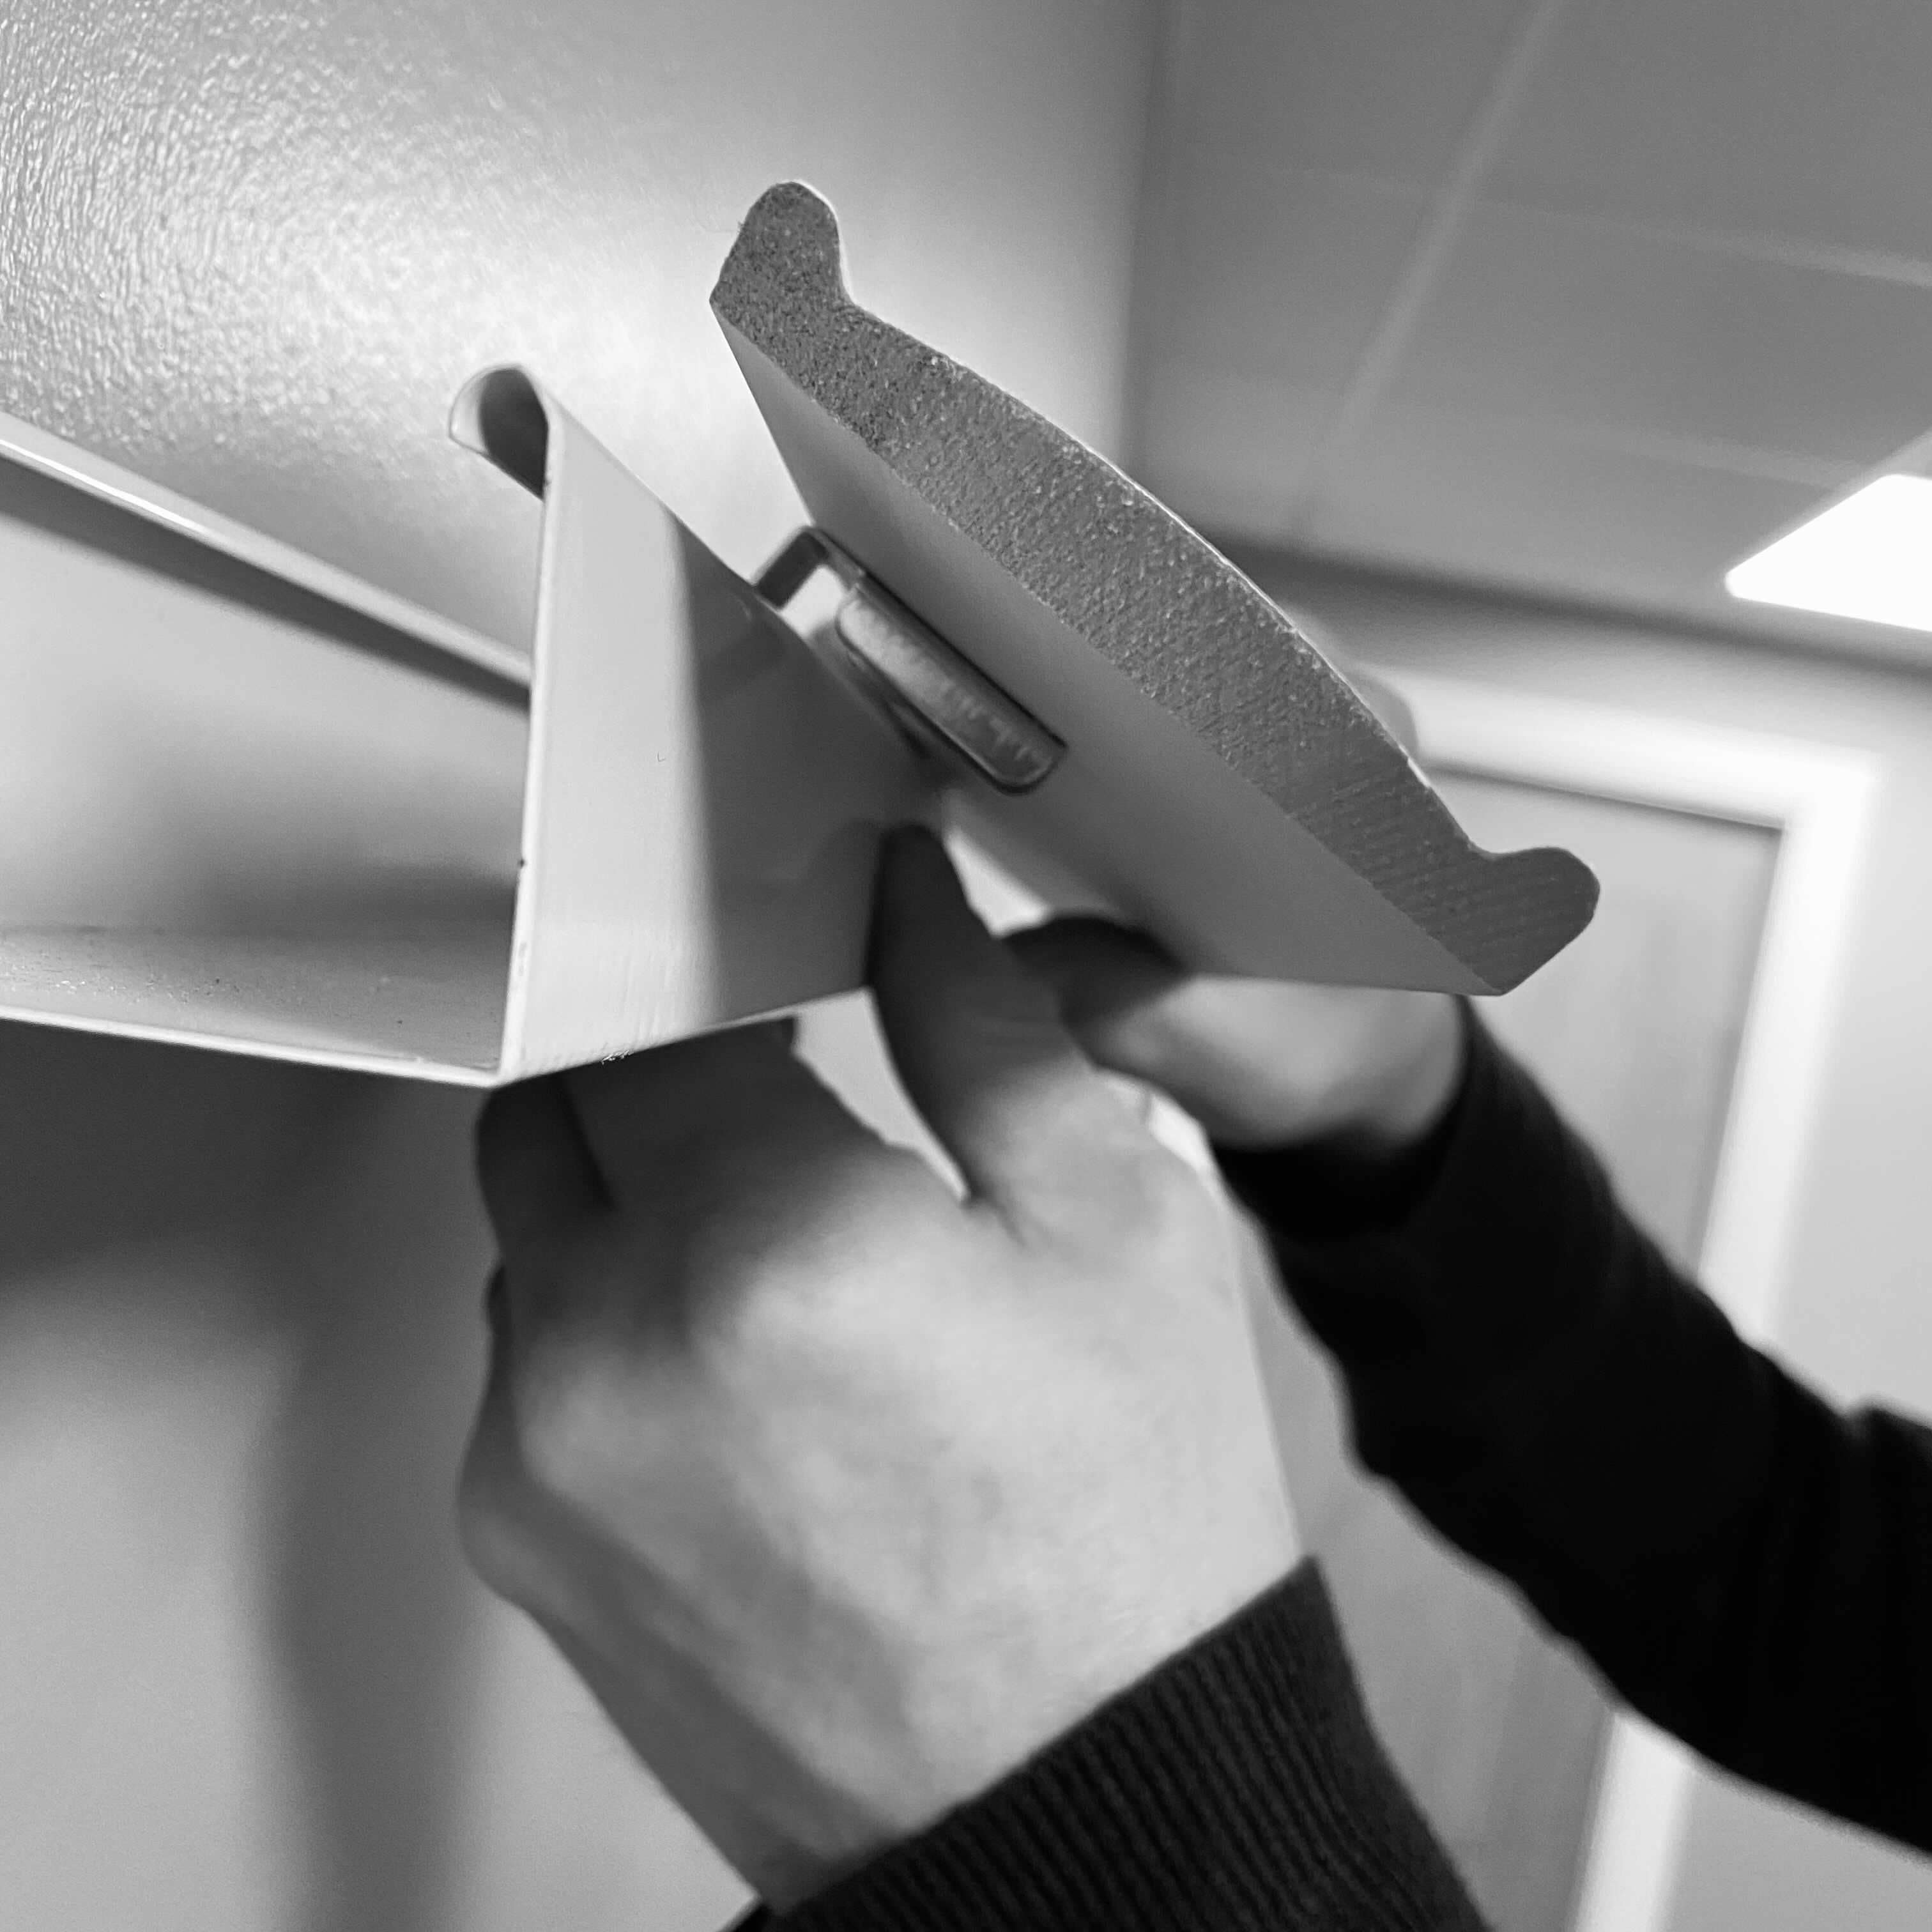
Hook the valance into the top of the valance clips as shown in the above image.

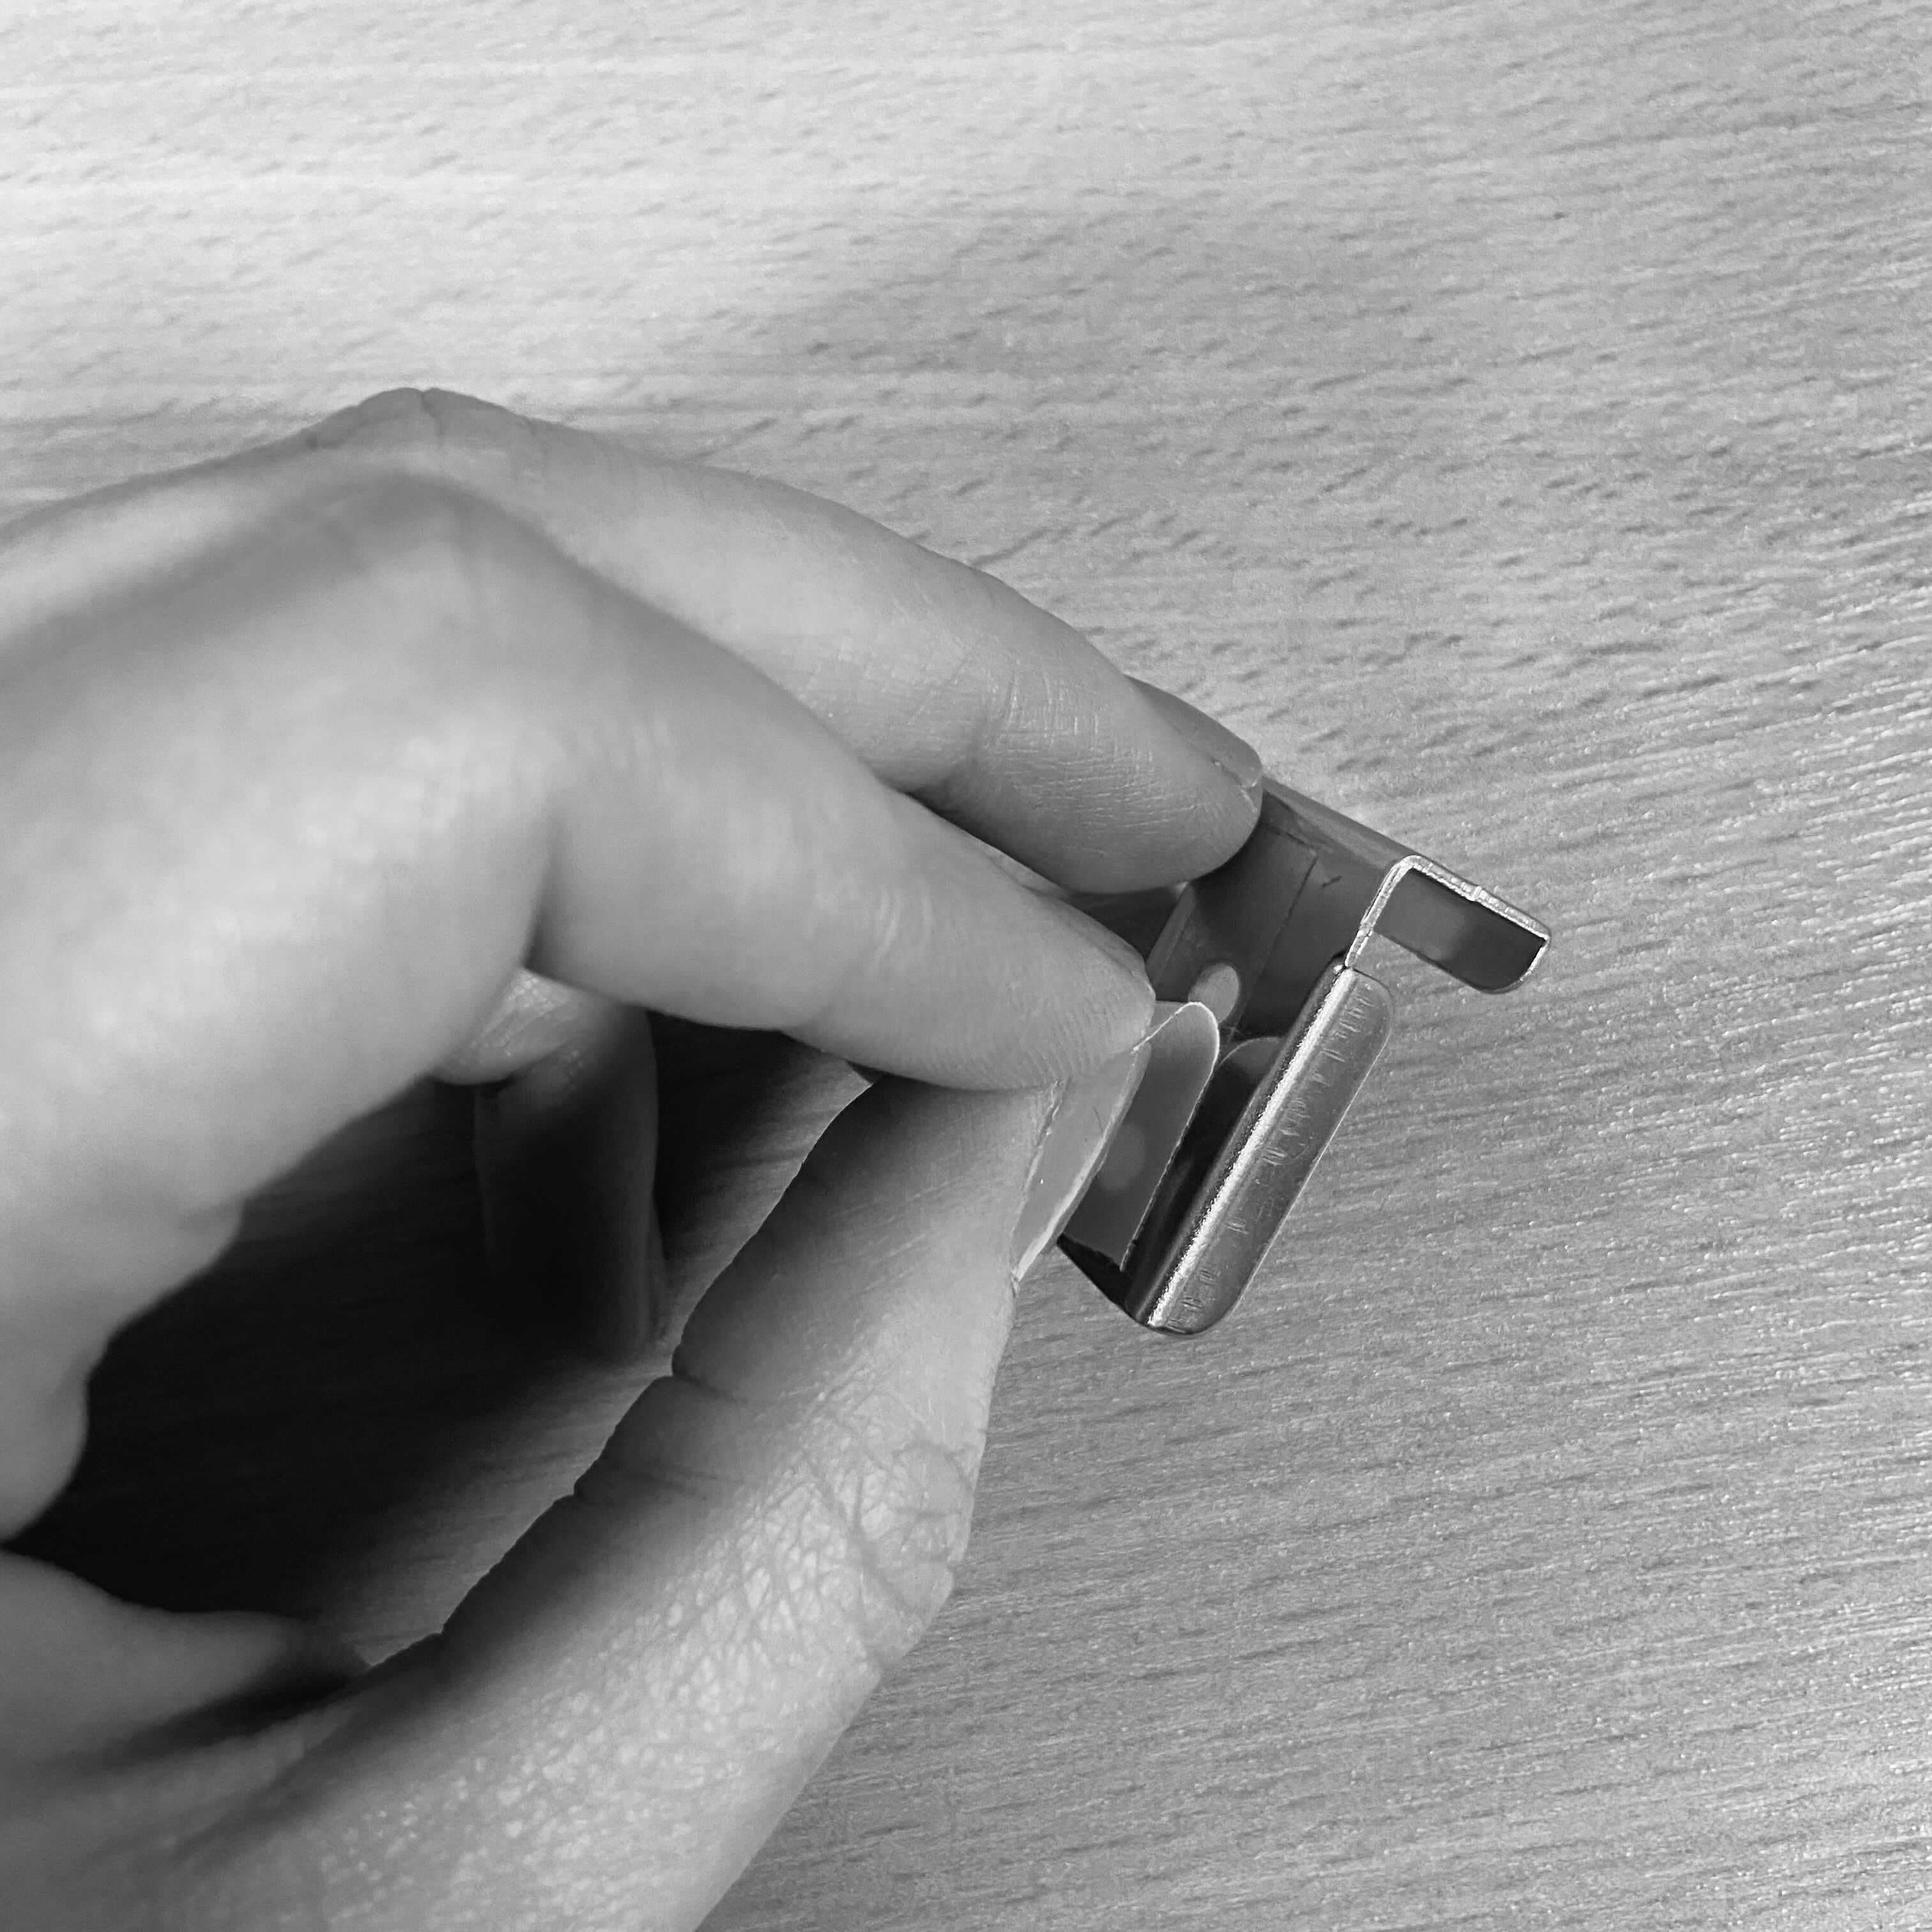
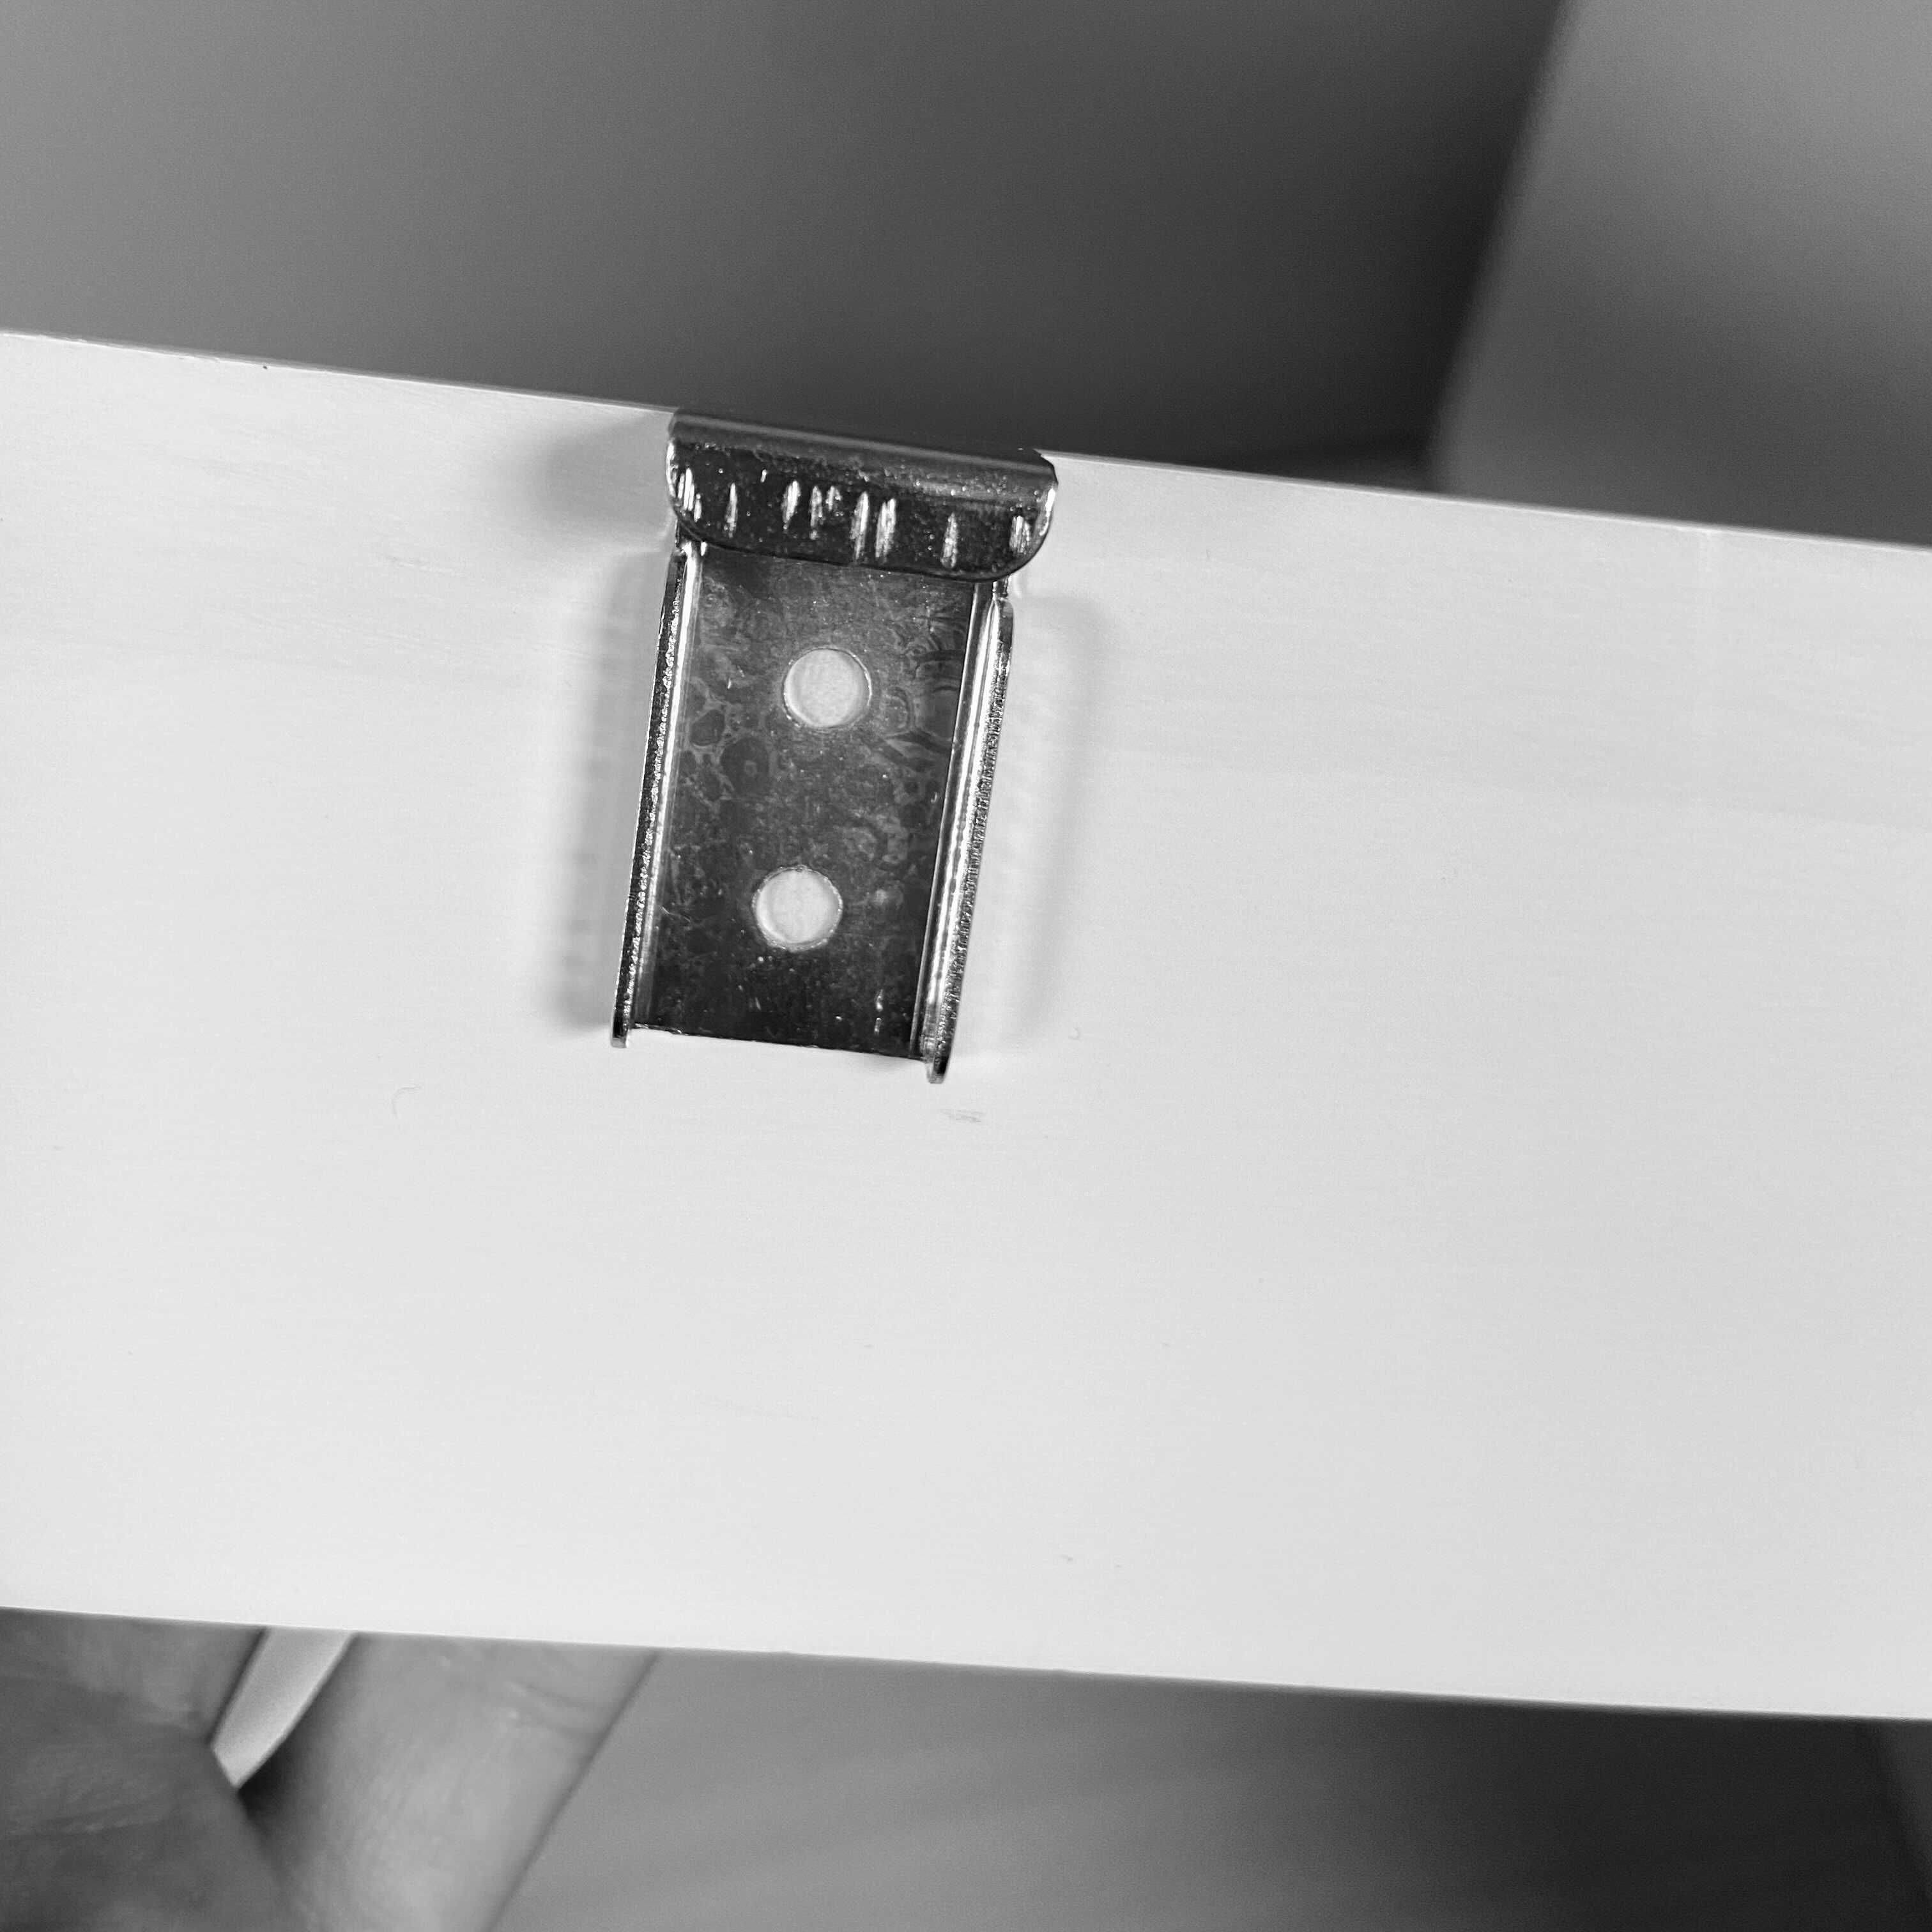
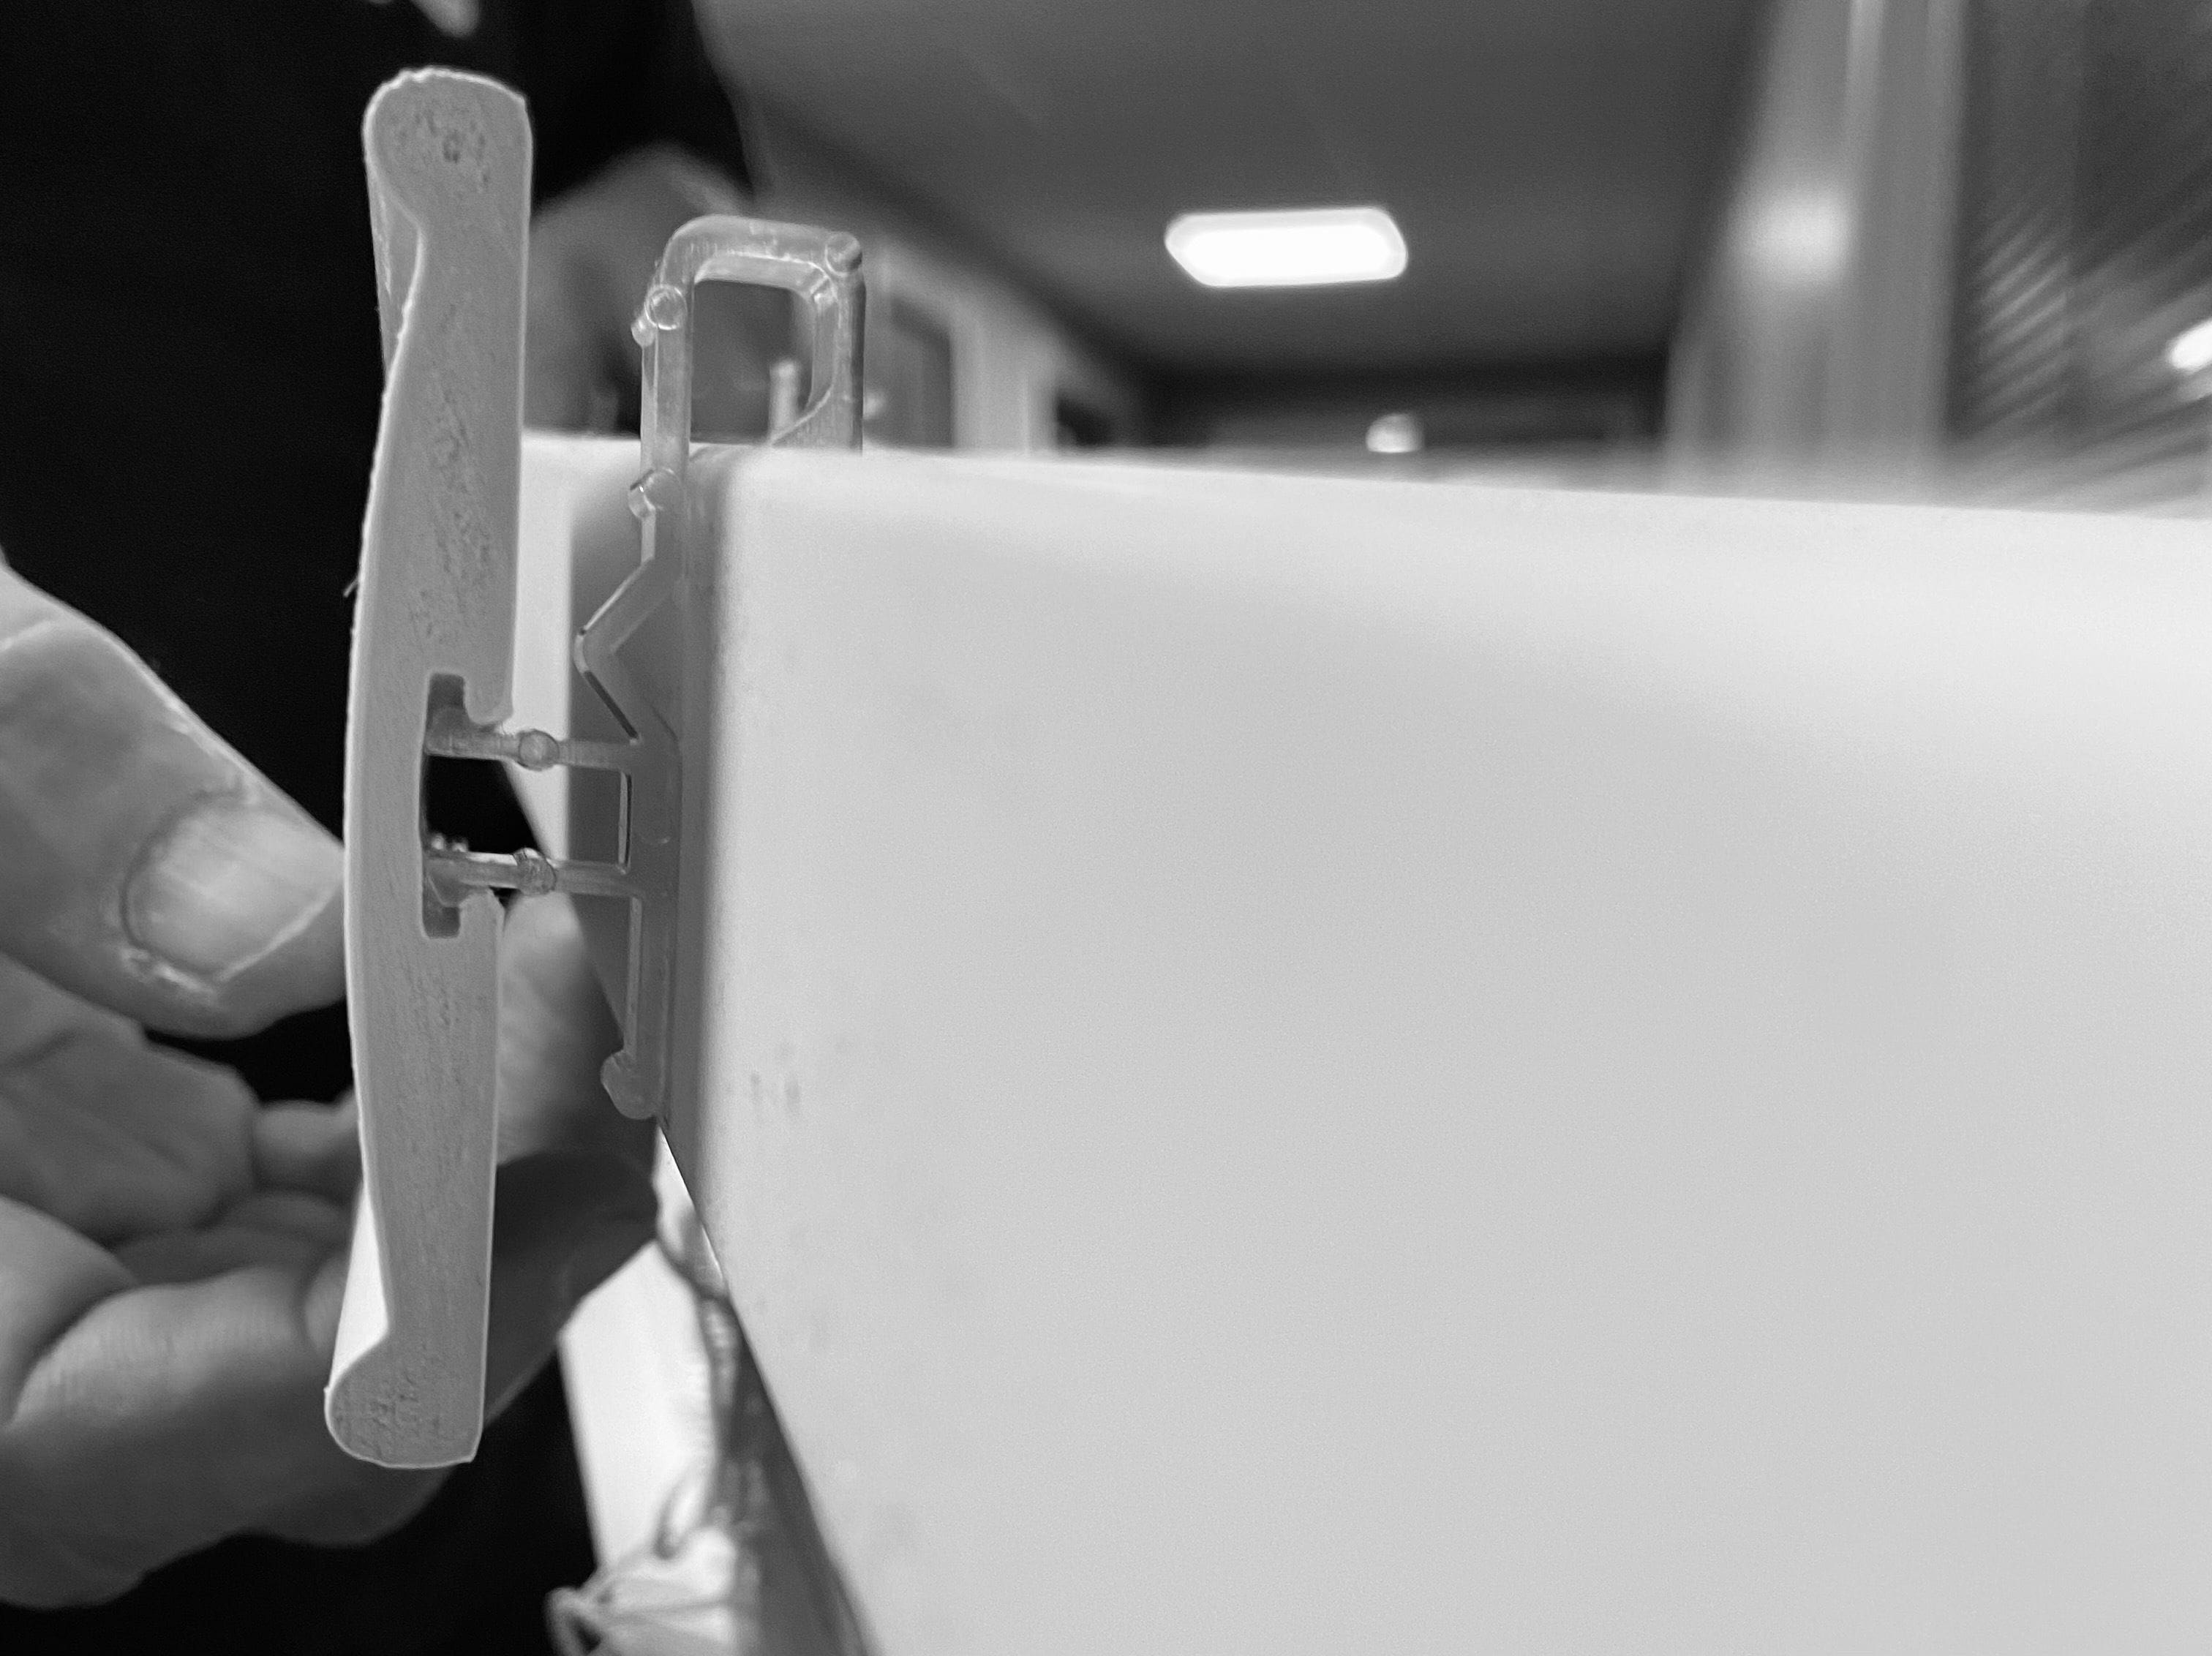
Hook the valance shaped clip onto the front edge of the headrail allowing 5cm clearance between control mechanisms and valance clips.
Clip the valance clips on to the front edge of the headrail as shown in image above.
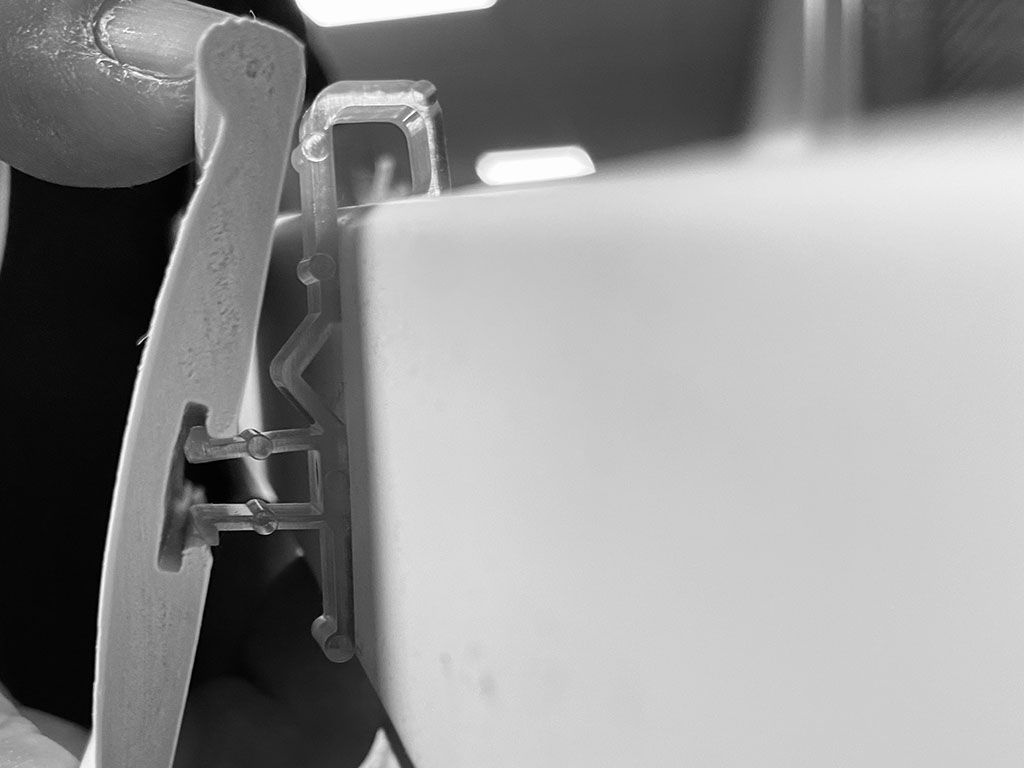
Locate the grove on the back of the valance and carefully position it against the headrail catching the top part of the clip in the groove as shown in the image above.
- Blinds that require a safety cleat must not be installed less than 1.5m from the floor. Safety cleats are designed to keep cords taut and out of reach of children – always wrap the cord around the cleat.
- Fix the safety cleat to the wall with 2 screws in a position that’s out of reach of children. Install it as close to the head rail as possible, ensuring that it is no closer to the floor than 1.5m.
- If more than one cleat is required for the complete amount of cord to be wrapped around, ensure that they are positioned no further apart than 20cm and both are no closer to the floor than 1.5m.
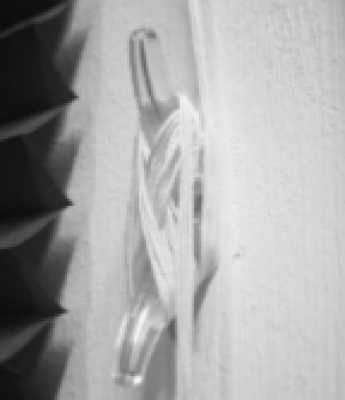
Image 1

Image 2

Image 3
Safety tips
There are things that you can do to reduce risk in your home.
- Move beds, cots and furniture away from the window.
- Do not let cords or chains hang loose. Make sure they are kept out of reach of children at all times. Do not tie loose cords and chains together.
- Check the condition of all safety devices if not used regularly and replace if the device is faulty.
Operating your blind
Warning
Shop our favourite Traditional Wood Blinds

Cotton with Tapes Wooden Blind
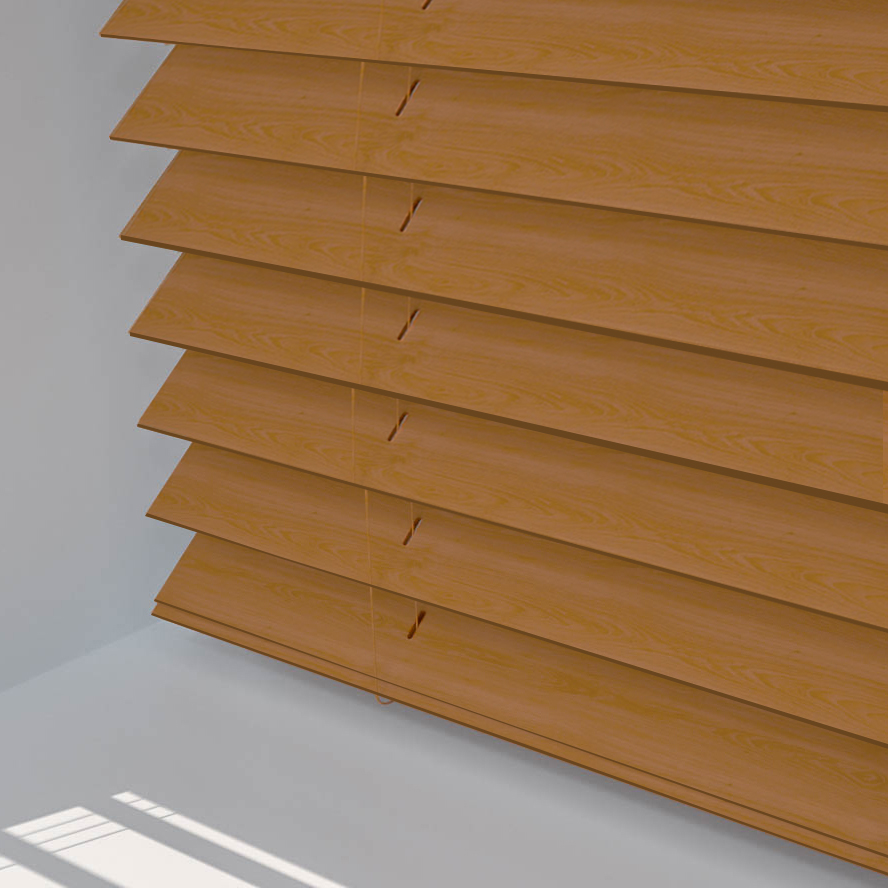
Golden Oak Wooden Blind

Java with Tapes Wooden Blind

Cinnamon Wooden Blind

Eggshell with Tapes Wooden Blind

Wheat Wooden Blind